Customer Services


✨ Transform Your Home with Instant Elegance! ✨
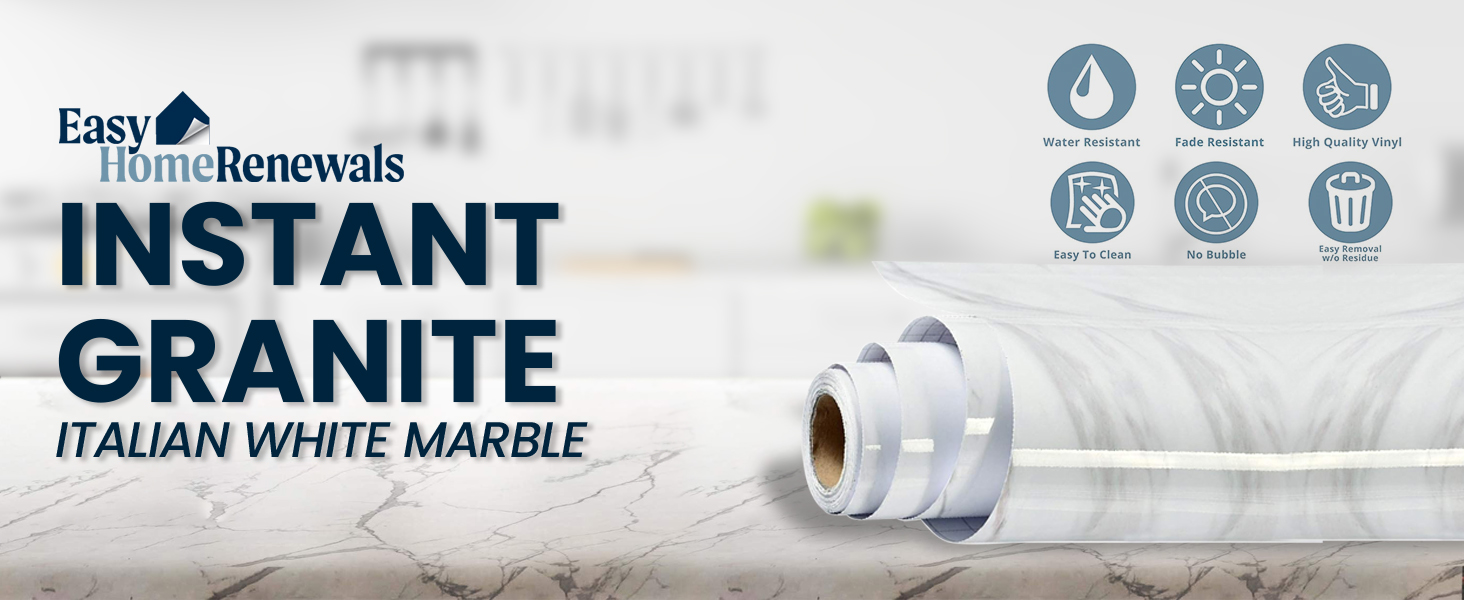
The Instant Granite Premium Kitchen Countertop Vinyl Laminate Cover offers a realistic marble appearance with easy peel-and-stick installation. Measuring 36” x 72”, this durable vinyl is resistant to water, stains, and heat, making it perfect for any flat, non-porous surface in your home. Ideal for DIY enthusiasts looking to upgrade their space affordably.


| Item Dimensions | 72 x 36 inches |
| Item Shape | Square |
| Item Form | Sheet |
| Color | Italian White |
| Grade Rating | Residential |
| Material Type | Vinyl |
P**4
Real Nice Instant Granite and Best price around!!
I wanted to redo the counters but didn't want to spend a lot right now and came across this. I did my homework first, check the reviews, watched the videos, including YouTube and compared pricing. this is the best price around by far. I ordered enough to do all the counters and including the 2 bathrooms. Shipping was real fast and came almost 2 weeks before the due date. I emailed the seller because it said 2 packages so was concerned, he responded back the next day, and said he packed them both together and for me to open it and check and sure enough both pieces were there. I recommend them to anyone wanting to do this and I will post pictures once I have it done. There are grids on the back for cutting, that was nice and felt thick, not like contact paper. I can't wait to get it done!!! Thank you Easy Home RenewalsAll Done with the counters, I only took a picture of one side. I will share this, make sure your counters are clean from grease and dirt, I also filled up a bottle with 50/50 vinegar/water solution to get all the reside off, then I filled up another bottle with a soapy solution ( dish soap and water), as you will need it. I also recommend having some help, I did it by myself and there was some challenges, you will need a hair dryer or heat gun, I went to Lowe's and got one for $24.00. Once you measure the paper, start from one side and work your way along, spray the counter with the soapy mixture, not a lot but enough to mist the area and it will give you the time to lay it down and get all the air bubbles out, squeegee works well, have have a sharp razor blade and paper towels, ruler, marker on hand and plan on at least 2 to 4 hours. I also got some clear caulking to put around the sink area. Hope this helps. Love the look!!
E**R
READ ME IF YOU'RE WONDERING HOW TO HANDLE ROUND CORNERS
First off, "instant" is so misleading :)Mind you, I read umpteenth reviews before purchasing this stuff...I knew I was diving into some 10-hour granite. Did I have to take an apprenticeship and learn the finer points of stone work. Nope. What this process instant? Certainly not.Anyway, that's not why I'm writing this review!I'm writing it because the web doesn't offer much information on handling rounded corners with this stuff. I've seen a few jobs where people just wrap it around with creases, which frankly, looks kind of awful. There's also a blurb in one of the videos about using "relief cuts" to wrangle curves, and I didn't find this advice helpful either.Confession: I didn't take photos of my process, just the outcome (sorry). I'll try to be very clear in my instructions.1. Prep the surface, making sure it was clean and then spraying it down with a mist of water.2. Apply the Instant granite, first pressing out the bubbles and shrinking the countertop layer first.3. Wrap the edges, but ONLY those where the edge is flat and required no folding / puckering. Don't wrap the corners.4. Shrink the flat edges down with your hair dryer, taking care to not hit or wrap the the corners so that you have a lot of slack around the corner (think pointy flaps, sticking out).5. CORNERS: Pull the flap down (hold taunt), around the corner, stretching it while is was heated; if you do this right, you can get about 1/8 of an inch to wrap down around the top lip of the corner, no puckering---try rubbing it down with your squeegee as you do this.6. At this point, you'll still have some excess film (essentially the part of the flap that begins to pucker when you want to press is to the rounded edge).7. Trim the excess off the corner using your razor knife. You want nice, clean lines, because it will show slightly through your next layer no matter what. I promise it doesn't look bad and it's waaaay better than a puckered edge. Follow the lines of the counter.8. To finish, cut a small rectangle of Granite. A strip that is the same length as the uncovered corner; add 1-2 inches to it's width so that it can be wrapped under the counter.9. Apply to strip to your corner. Think of this like wrapping a band aid around a knee. It helps to line up the top of the strip with the top edge of the curve (so that it doesn't stick up, or look jagged).10. Once you're happy with the placement shrink it down with your hair dryer. Round the top edge down using your finger nail while the film is still warm. You'll find you need to add relief cuts when you're folding this piece under (it gets bunchy and bulkly if you fold it in one piece). Cut these carefully and fold it under in small sections; be careful not to cut too far up.I saw a video where they advised tacking your film under the counter with small nails. I used a staple gun and it turned out great. I wouldn't recommend cutting it flush with the bottom edge, because who can get that to look right? Not me!The result on the rounded corners isn't perfect, but it looks pretty good. You don't notice the patch unless you're looking for it. If you're using a version of Instant Granite with a stronger pattern than the light marble, you won't see it. Period.Hope this review saves you time reviewing "Instant Granite, Rounded Corners."
U**E
Perfect laundry room DIY!
A little tricky to get on and for the size of what I needed to cover, it took two people to apply. But, it was good that you could apply and then un-peel to get all the bubbles out. Once we got over the corners (which were a challenge) all worked out.It looks really nice. Feels like and looks like marble.Seriously. Who would ever know this was a cheap interior door that we salvaged and cut in half? Could not find anything to cover the dimensions of the top. We were looking at $400.+ for something custom made. So, obviously this way cheaper. And it looks pretty good. The instructions were clear. And it came with the wall paper tool to smooth out lines. Very happy with the purchase. And I have some left over for another project. Yay.
A**R
I am satisfied and glad I ordered
I ordered this product as a short-term, quick fix to cover a hideous, dated laundry room countertop. We have a big fixer-upper house with many projects to cover and a limited budget and I knew that actually replacing the counter in the laundry room would be years down the road. Overall, I am satisfied and glad I ordered, but as with all things, you pretty much get what you pay for. This is a decent covering that gives a clean, bright finish. It looks nothing like marble unless you have a few cocktails, stand back and squint in low light. It pretty much looks like contact paper/plastic. As others noted, the veining is very subtle and the counter looks plain white unless you are up close and looking hard- the veining is very light and limited. I was surprised with how well it went on- not as easy as the Appliance Art installation videos make it look- but I was able to do it, with minimal bubbling, in about 30 minutes time. Just go slow and work with a hair drier as the instructions recommend. I thought it was very sticky, contrary to what other reviewers experienced. Overall this was worth the $40 and 30 minutes spent. I was hoping I would love it so much that I would want to put it in other parts of the house- like our kitchen island, but because of the plastic finish and overall contact paper ascetic, I personally would not.
Trustpilot
5 days ago
3 weeks ago