


⚡ Upgrade your pool control with military-grade precision!
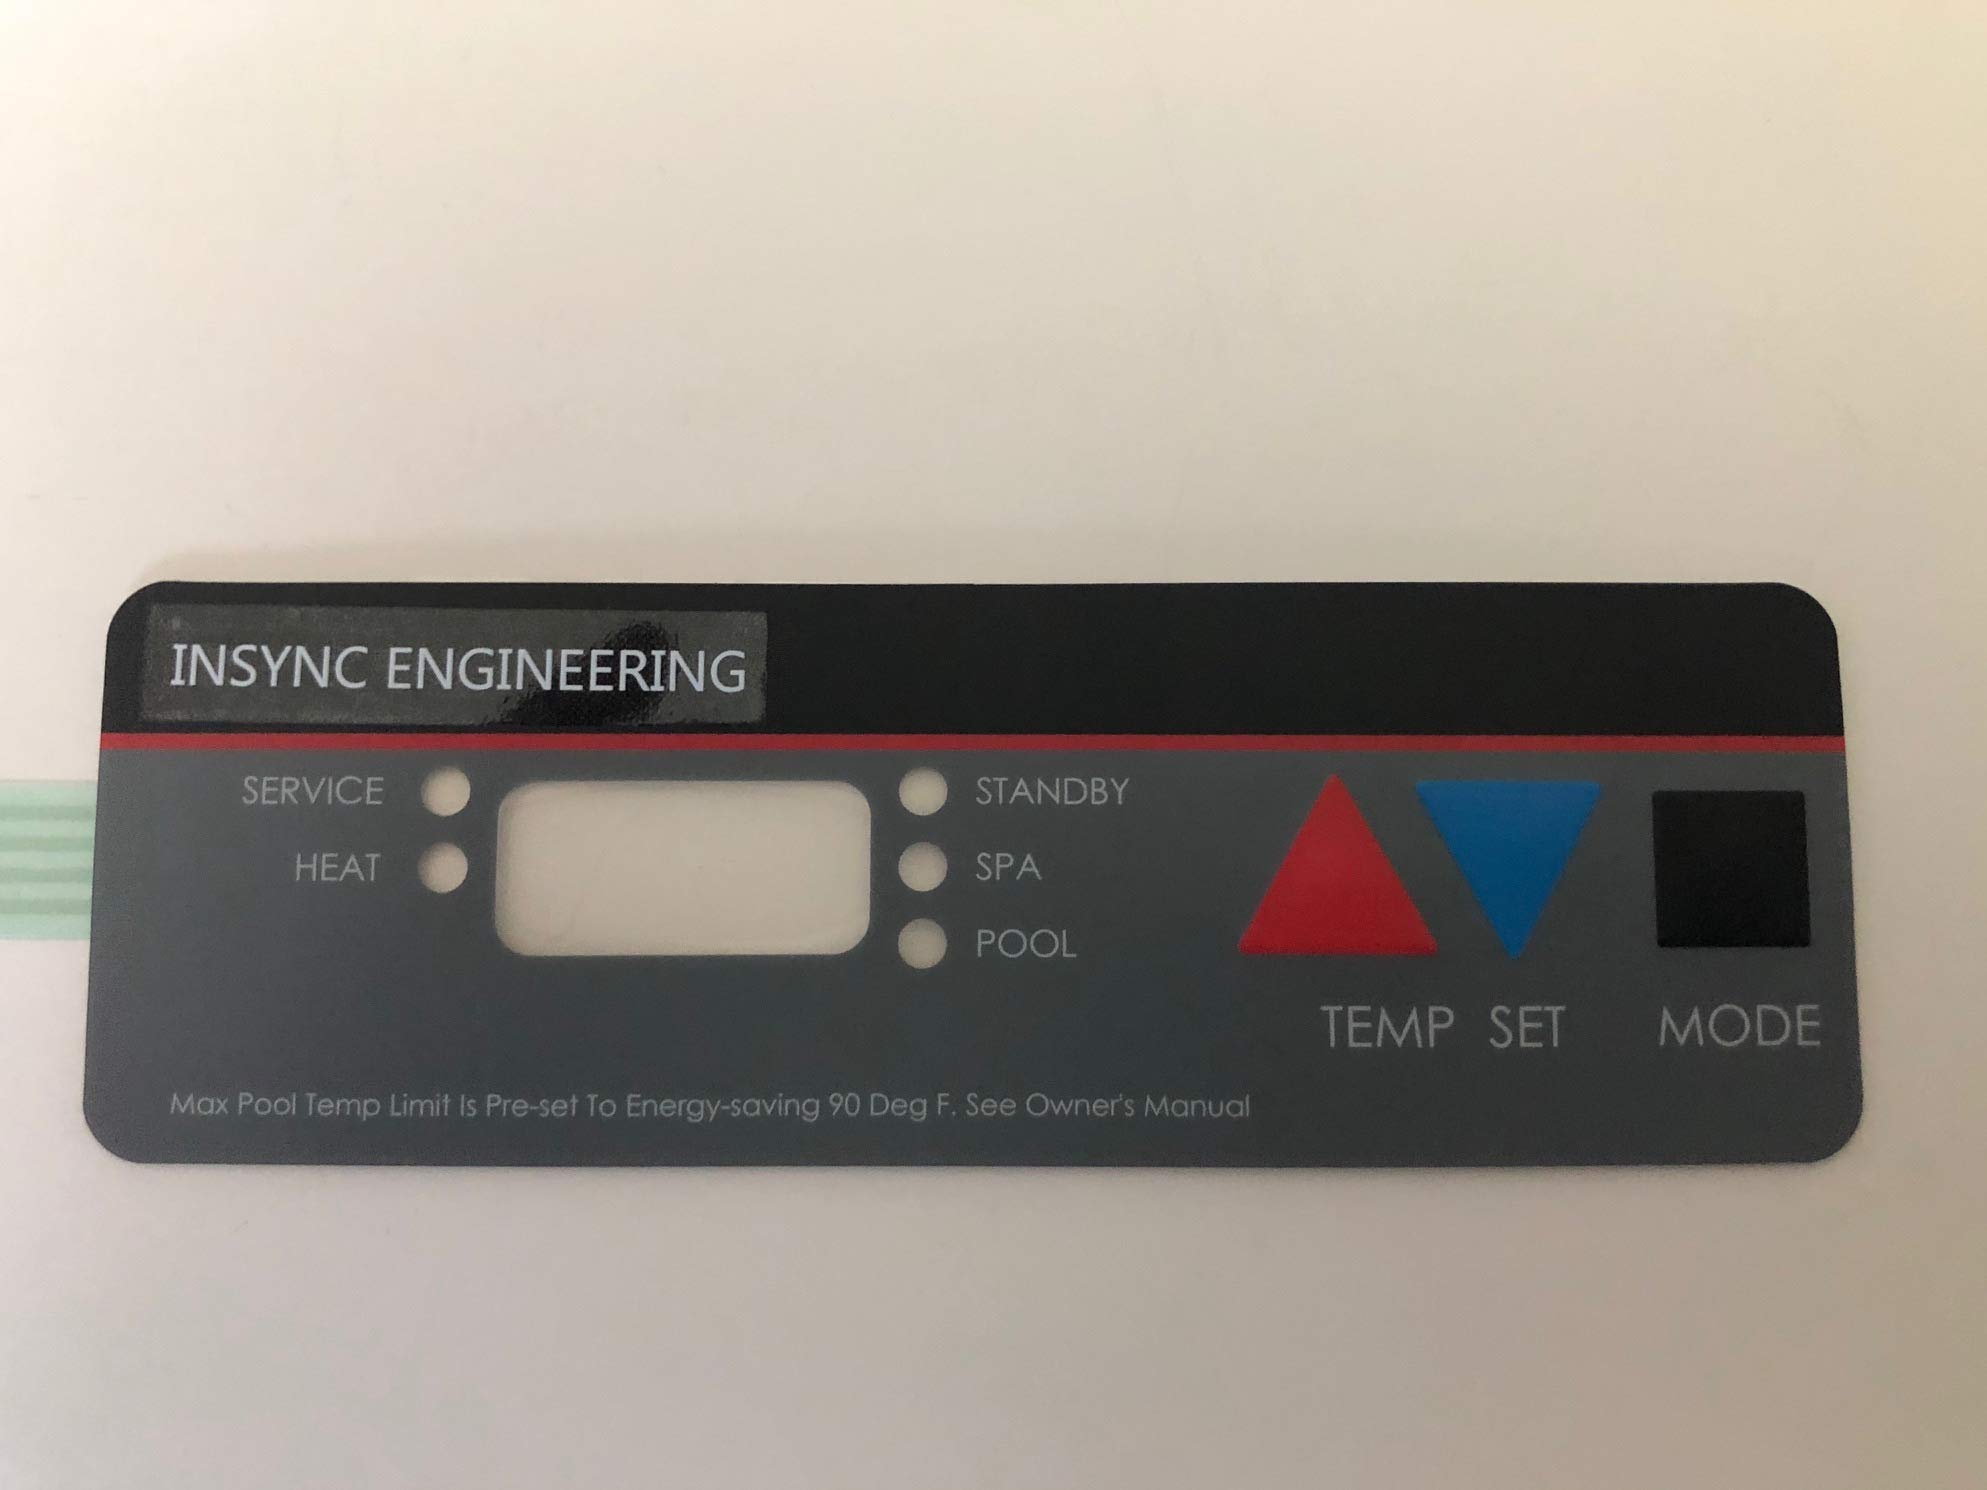
This replacement keypad membrane switch is engineered by Insync Engineering using military-grade materials, designed to fit all Hayward H Series pool heater control panels. It offers a durable, easy-to-install alternative to OEM parts, ensuring reliable performance and a cost-effective upgrade for your pool heater.
C**N
Works perfectly.
We have to replace the keyboard panel every few years because the sunlight destroys it. Replacement cost a couple years ago was about $250.00. We were somewhat tripadacious about ordering the keyboard due the the difference in price. But the part worked perfectly! We are ordering a second one to have a spare. Easy to install, just follow directions. The quality of the keyboard was excellent. Very happy!
N**A
Saved $$$$
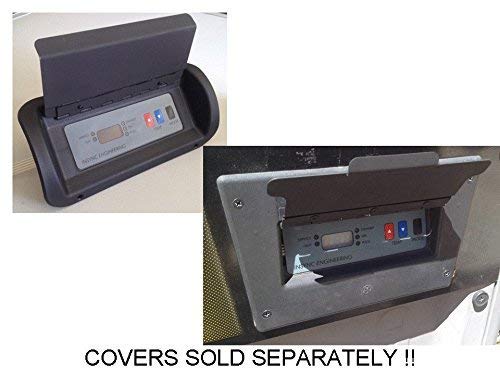
This part worked perfectly and was easy to install. I had been given estimates ranging from $400 to replace the circuit card up to $2,000 to replace the entire heater. This part fixed the problem for $50. I now have a cover over the top and the control panel to protect it from sun and rain. The unit already sits under a rain gutter that has helped to keep it in good shape. Thanks for the economical solution.
B**E
I was scared of non-OEM, but this product is GREAT!!!
I am always hesitant to buy non-OEM [compatible] parts for something, but in this case it was clearly the right choice. Even though the part arrived in a non-padded yellow envelope (which had me concerned, I was very impressed with how well it was packed. It was taped to a piece of cardboard (with blue tape so that it was easy to remove) and very well wrapped in bubble wrap . There was a warning sticker on it advising against pressing the buttons before installing it (for fear of damaging the buttons).I received the installation instructions via email in advance of actually receiving the part. It was a handful of simple steps with diagrams each step of the way. They do recommend taking pictures of your actual unit before disassembling anything as a reference for putting everything back together. However, it was so simple, and with only 2 wire connections to unplug, I didn't find it necessary to take any pictures.I made sure to do a HALF TWIST of the cable from the keypad before plugging it in. I then re-assembled everything, turned the system on, and everything worked perfectly the first time!!!This was a great purchase, and I highly recommend it to anyone with a faulty keypad.
S**O
BUT IT WORKS FINE.
Affordable, but didn't have the correct pin outs for my Hayward heater. (even though the compatibility chart had it listed). I simply had to reverse the connector so that there is now a twist in the ribbon cable. BUT IT WORKS FINE.
D**D
Easy install, great product!
Shame on Hayward for trying to rip off customers for the whole assembly when a $40 touchpad is all that's needed.Installation was easy.1. Remove the front cover of the heater.2. Disconnect wiring. Each wire bundle will only fit on the appropriate connector, so no need to label the bundles.3. Remove old touch panel.4. Remove circuit board from the rear (easier than fishing the flat cable through the front!).5. Twist flat cable before putting the connector on the pins.Take note... if you have an older heater, keep in mind that the solder joints corrode and can get brittle. When I set the front panel down on a table, the three pin temp sensor connector broke loose from the board. I have experience in electronics, so I just soldered tracer wires in place and hot glued the connector. If you are a DIY'er, just be careful how you place the circuit board down.
V**N
Works as advertised and easy to install.
The window for the temp numbers is clear, where the original seemed tinted; the background of the LED shows through now where it didn’t used to. Not a big deal, though - it’s good to have working buttons again.Be sure to use goof-off or something to completely clean off the old glue from the panel before installing the new one - I wasn’t expecting the old panel to leave as much residue as it did, and I’m sure the new one would not adhere well with that old glue there. Yes, this is in the directions, but do take that seriously!
M**.
Fits and works. Super easy to install and way underpriced.
I thought I needed a whole new panel for $500 but just the buttons go out over time. $29 dollar fix. I love it
G**E
meh
Didn't work, followed instructions perfectly
Trustpilot
3 days ago
5 days ago


