


🔧 Elevate Your DIY Game with Ease!
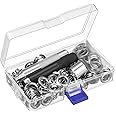
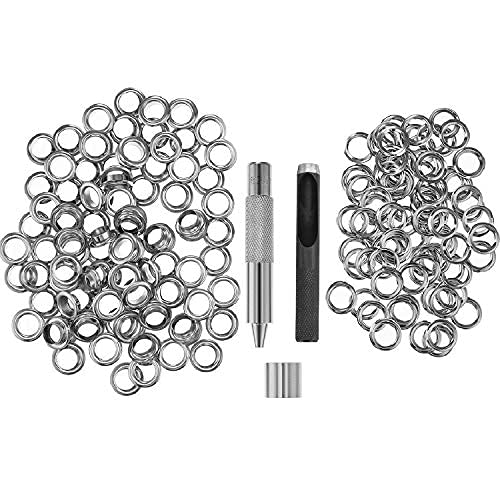
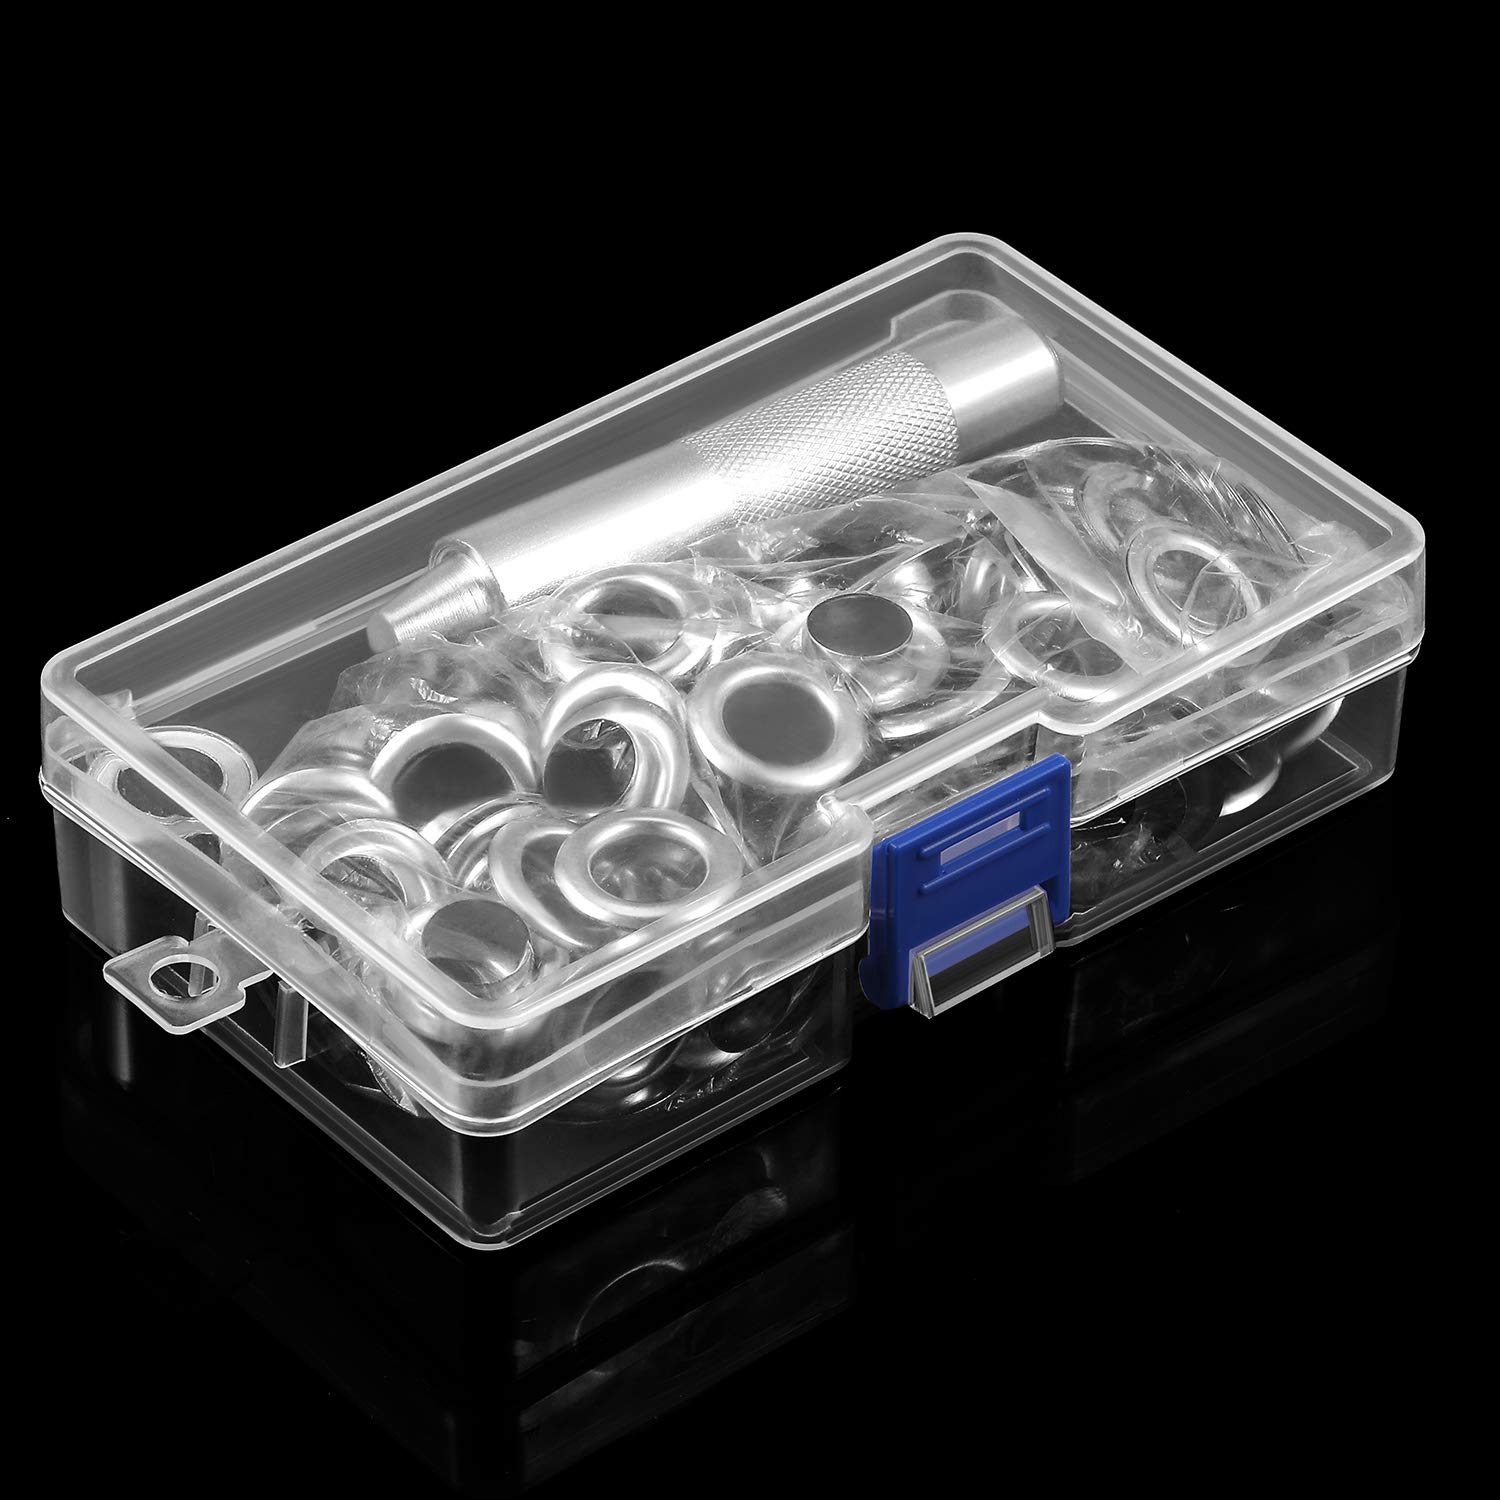
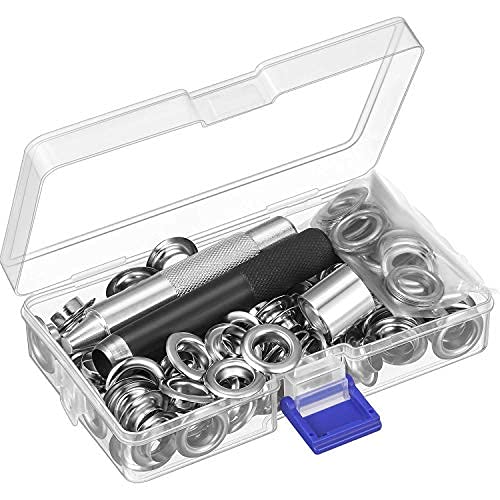
The Grommet Tool Kit includes 100 sets of 1/2 inch grommets, a hole cutter, and a mandrel, all housed in a compact storage box. Ideal for a variety of projects, this kit is designed for easy use and durability, making it a must-have for any crafting enthusiast.
E**R
Good value
I appreciated the punch included with this grommet set, but it was not able to consistently cut through the several layers of fabric I was using. I found that it marked the hole well, though, and I was able to use small, sharp scissors to complete the hole. The two piece grommets fit together well, and were easy to set with the included tools and a hammer. Directions would have been helpful, but I have used grommets before and knew how they work. The case is a handy way to keep the pieces all together for the next project. All in all, this set is a good value and will be useful for several different projects.
R**E
Work great, a ton of them for the money, and I love having a case for them
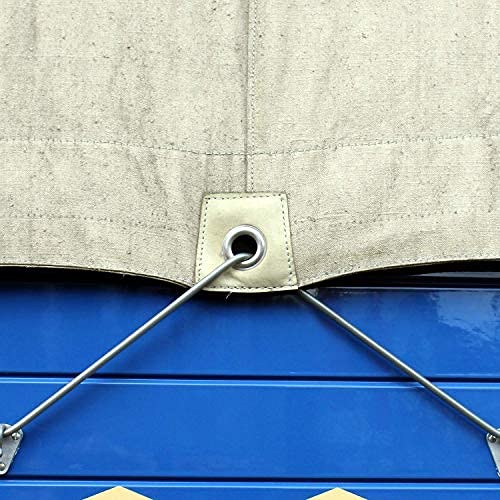
Great kit with plenty of grommets for the price, along with the tools. As mentioned by many others, this does not come with instructions, so load up the youtube and get a handle on what you need to do before diving in so you don't waste them.Our first project for them was to add grommets to the bottom of two clear shower curtains, which we hung sideways to protect the outside of our booth at a large fair. They made great "clear tarps," attached with small bungees through the grommets. It probably took me fifteen minutes to add grommets to both 6-foot curtains, and much of that time was fighting with the large, stiff plastic curtains.I love that they come in a sturdy plastic case... My previous grommet set came in a bag which was constantly spilling or getting misplaced... leading to this purchase. Now they'll stay put and be ready for our next projects!
C**G
Still Gets The Job Done
This product gets the job done, but you need to work at it a little harder. The reason is, first, the tool that is suppose to cut the hole in the material does not do a clean cut. Even after place the materials on top of a hard wood board that was on top of concrete, I still had to use a razor blade to cut the hole all the way through. Secondly, if you don’t hit the grommet perfectly straight, it will only fasten one side, which can potential not be structurally stable since the whole circumference isn’t sealed all the way around (hope that makes sense). However, if you aren’t going to be moving around your tarp or heavy material around much, then this product still does the job it was meant for.
L**.
Nice Grommet Kit & Success With Applying! Video Edit Suggested
I am happy with my purchase of this grommet kit that nicely stores all needed components within a plastic bin for organization. I had never applied grommets prior and appreciated the Amazon online detail given and video provided. I do suggest that the video for this particular set be revised. The pieces within the grommet application are all placed down in a row by the video demonstrator. One of the pieces is duplicated and placed down twice so that each side of the piece can be seen. Initially, there was confusion for me on how many of the pieces were to be used when applying each grommet. However, my craft project was a success and I keep coming back to Amazon based on the amazing range of products that are available with ideal marketing visuals for use. Thank-you!
J**J
Light duty grommets
Here’s what you need to know. There are no instructions. If you’ve never installed grommets with this type of tool, be sure to view the instructions in the product description. My product arrived and had been opened before, so be on the lookout for that and any missing pieces. It’s very easy to use and works well; however, be aware that the quality is very light weight (not heavy duty) and should only be used indoors, as these will definitely rust.
R**S
Inexpensive and easy to use.
If you're going to be putting in lots and lots of grommets, buy a dedicated tool. But for once-in-a-while use, this does the trick. I found that you have to cut on a very hard flat surface (we use cement or an old tile because it it damaged a couple a cutting board) and you have to rotate while hitting the cutting tool with a hammer to get a clean cut all around. But once you get the hang of it, it does the trick. We cut double sheet of tarp without much problem and the grommets set cleanly and look durable. With lots of grommets, this will take care our our needs for years to come.
J**G
Works great! If using thin fabric, see my review for instructions!
These work great if you use them right. This is a quick how-to for using with t-shirt and/or fleece material. I had a t-shirt quilt made that I wanted to hang on a wall. The cutting tool would not cut through the material. The trick is to use the cutting tool and just make an indentation where you want the grommet. They use small sharp scissors (like ones used to cut bandages or thread), poke a hole in the middle, then make four small cuts INSIDE the circle - this will give fabric for the grommet to grip to. The larger half of the grommet should go on the side of the fabric that will be facing out as this one gives a cleaner look. Poke that one through the hole, carefully stretching (but not ripping) the fabric around the grommet. Place the smaller one on the opposite side, then place the large grommet on the small metal pieces. Stick the anvil (or whatever it’s called) through the hole, give it five or six whacks with a hammer, and VOILA! Pics show each step of the process I did. Turned out awesome!
H**N
Instructions for new users
The missing instructions are a key element for people who have not used one before (such as myself) I was going to return it until someone who had previously used one showed me how it's done, so I will try to provide what's missing here.#1 - The hole cutting piece (black in my set) is easy to understand, but can be impossible if you don't do the following: use a HARD wood block (such as oak - not a soft wood like pine) under the fabric set on top of another unbending surface such as concrete. Expect to hammer VERY hard and multiple times of checking before you get a full hole.#2 - Here is the order that the pieces need to go in from bottom to top: Place the barrel that's about 1/2" tall on the wood block. Place the front (larger) eyelet piece face down on the barrel and then the hole you made in the fabric will fit around the the center portion that sticks up. Last on top of the fabric is the thin washer piece. Now you can use the reaming tool on top, hammering down again to secure the pieces together.Since the washer fit so perfectly in the barrel groove I had things backwards, so I hope this helps someone else!
Trustpilot
2 weeks ago
1 day ago