Some deliveries may take a little longer than usual due to regional shipping conditions.

DOWNLOAD THE APP


Customer Services
Copyright © 2025 Desertcart Holdings Limited
DOWNLOAD THE APP


🍕 Elevate your keto game—pizza night just got legendary!
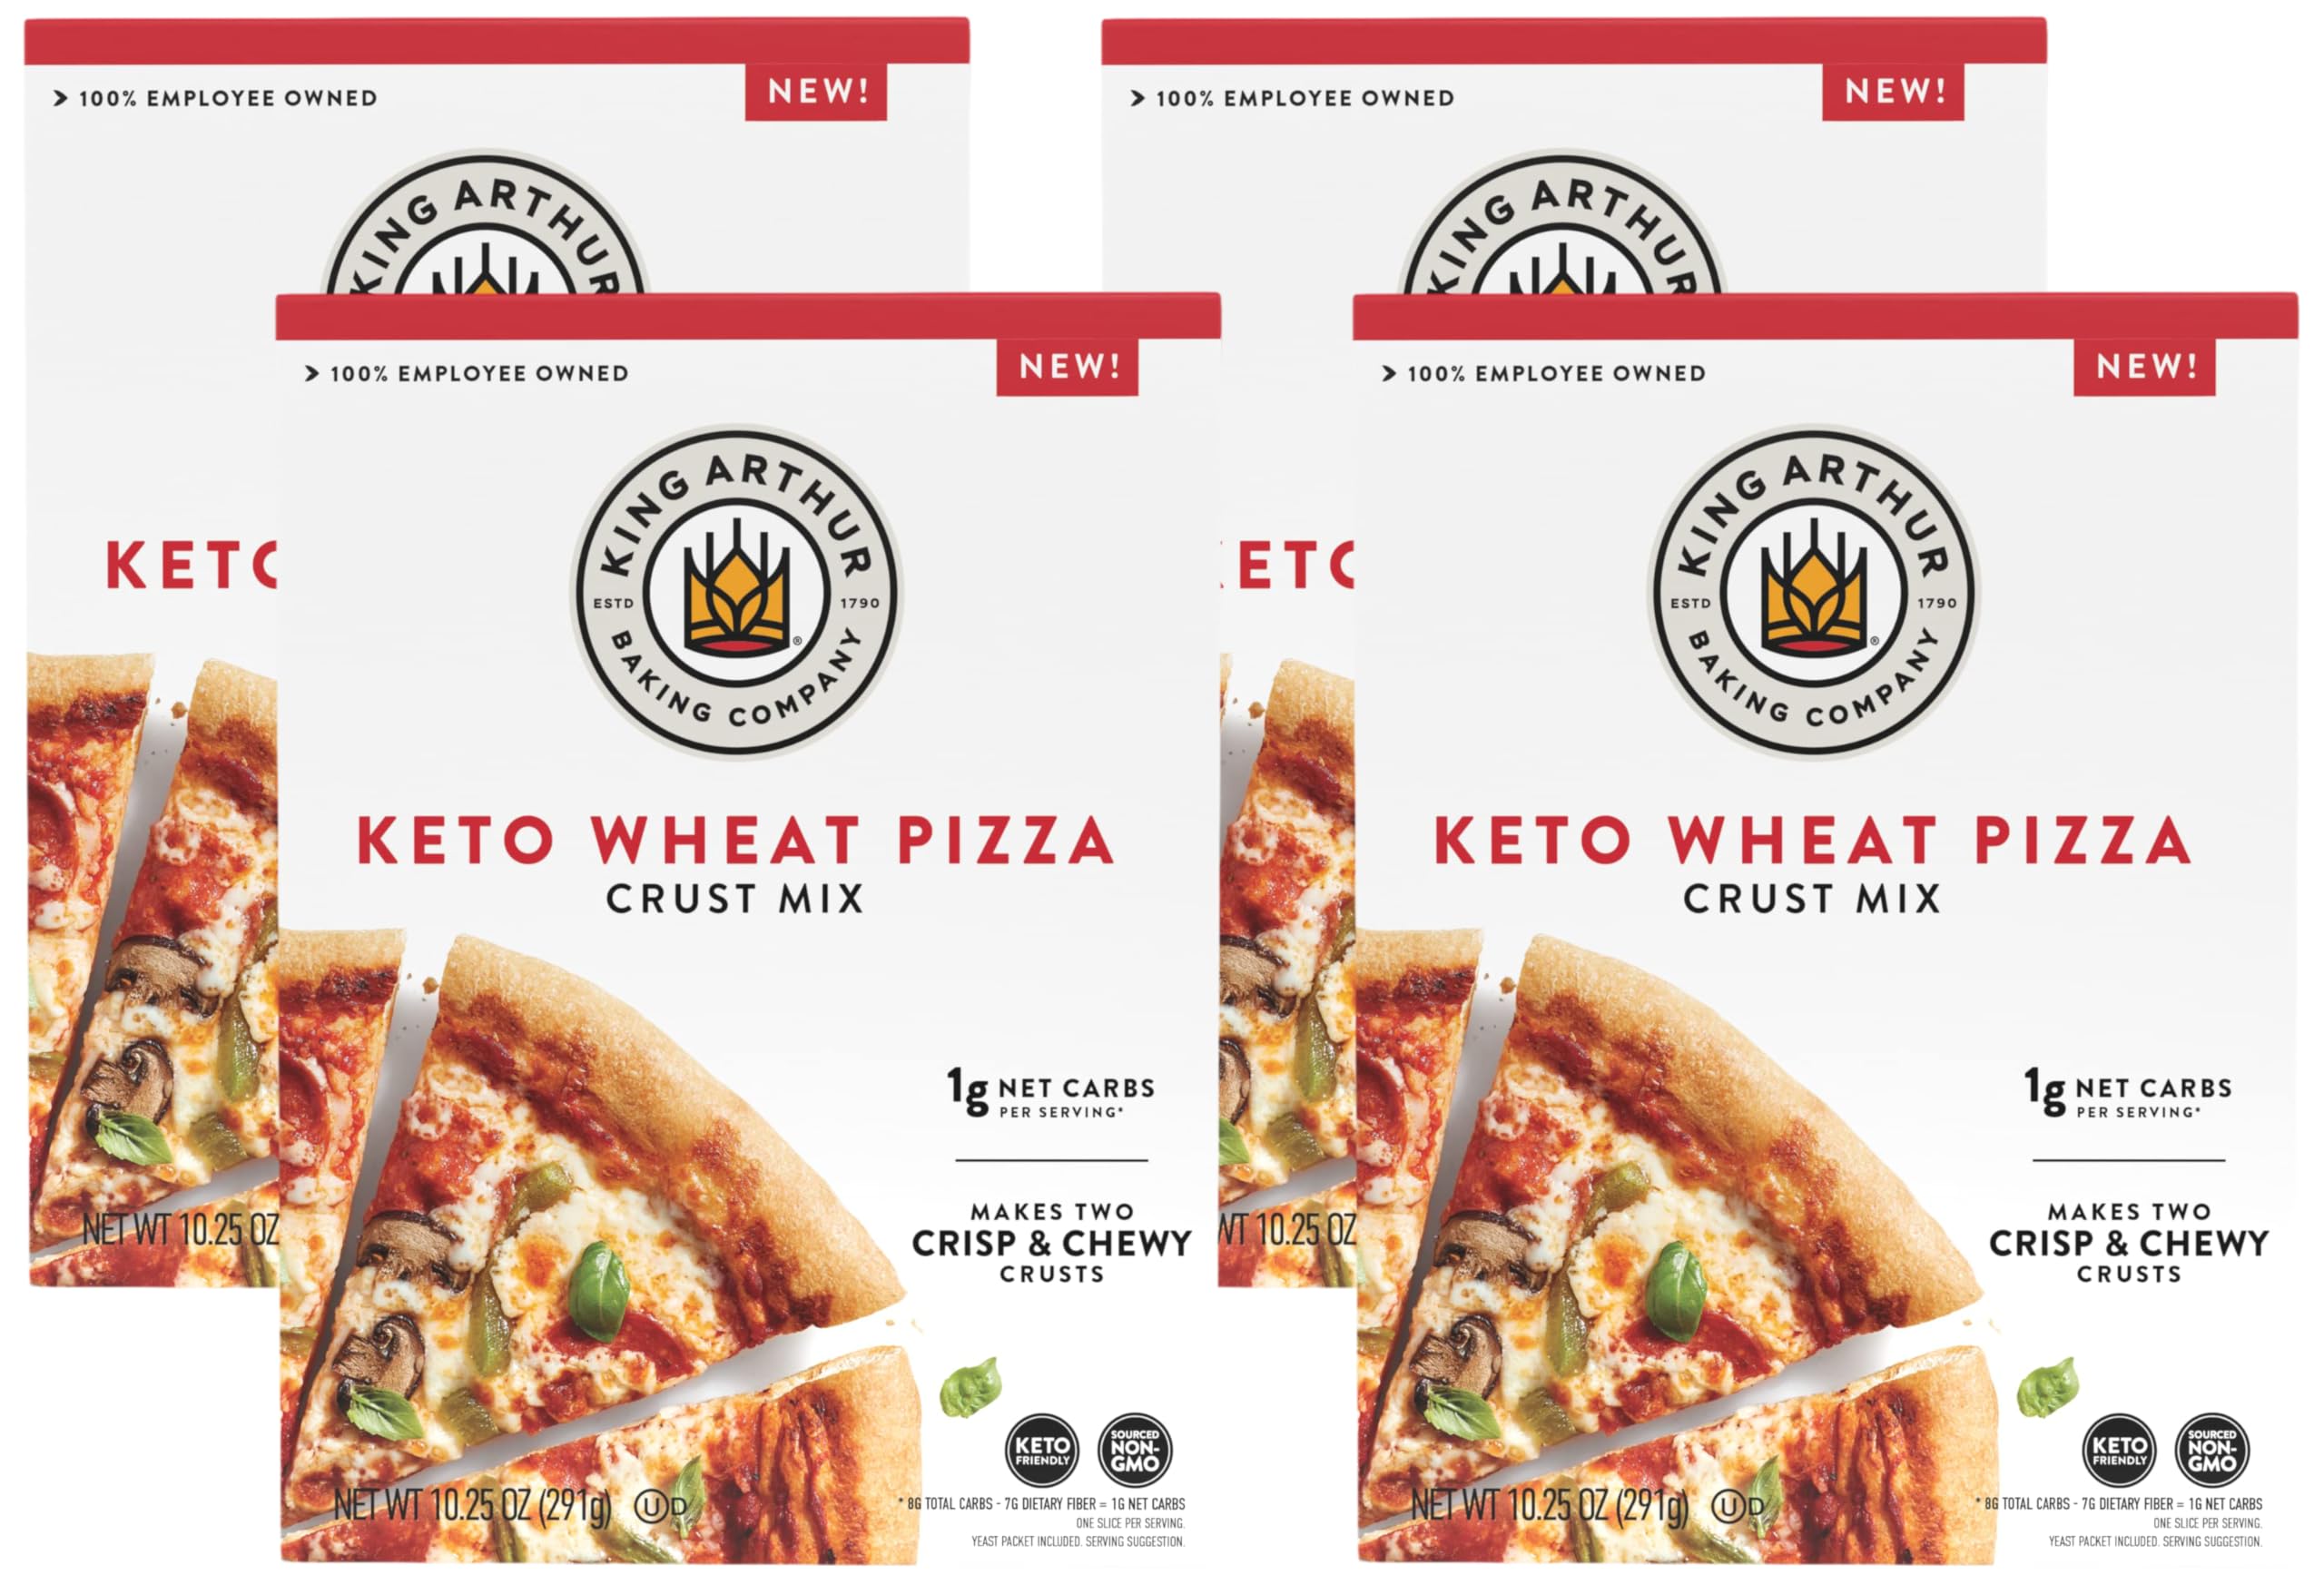
King Arthur Baking Keto Pizza Crust Mix offers a low-carb, keto-friendly solution with just 1g net carbs per serving. Each 10.25 oz box makes two 12-inch crusts that bake into a crisp, chewy base. Crafted by a trusted, employee-owned brand since 1790, this mix combines quality ingredients with easy preparation, empowering you to enjoy authentic pizza flavors while staying true to your dietary goals.


| ASIN | B0D14X1K25 |
| Allergen Information | Barley, Gluten, Milk, Wheat |
| Best Sellers Rank | #2,641 in Grocery & Gourmet Food ( See Top 100 in Grocery & Gourmet Food ) #1 in Pizza Crust Mixes #1 in Pizza Crusts |
| Brand | King Arthur |
| Brand Name | King Arthur |
| Container Type | Box |
| Customer Reviews | 4.4 out of 5 stars 2,213 Reviews |
| Diet Type | Keto |
| Flavor | Wheat |
| Item Package Weight | 1.4 Kilograms |
| Item Weight | 41 Ounces |
| Manufacturer | King Arthur Baking Company |
| Number of Items | 4 |
| Specialty | Keto,Keto Friendly,Low Carb |
| Unit Count | 41.0 Ounce |
N**E
Best keto pizza dough
We LOVE this product. King Arthur always makes great products and we look for their name for any baking products. We were all excited when we tried this pizza dough! Can't find at local grocery store. So happy to find on Amazon. A little pricey but the keto contents and easy to make with amazing texture and flavor makes it worth it. It's still cheaper and healthier than eating out. Looks and taste like pizza in a pizzeria. No more only thin pizza crust eating keto or low carb. Now we have thick crust again. Next to try making a calzone with the dough!
R**B
Perfect for making pizza and keto diet
My son and I like thin crust pizzas and we can make four pizzas, 8-10 inches each, from one box using a tortilla press. That's only 4 carbs per pizza according to the box. Not a bad deal if you are on Keto. After mixing the dough and letting it sit for an hour, I cut it into 4 equal pieces by weight (grams). Then laying parchment paper on the tortilla press (10.4" tortilla press), adding one round dough, and another parchment paper on top. I press it, turn it 180 degrees, press again, turn 90 degrees, press again, turn 180 degrees, press again. Keep this up until it's fairly round. Leave the parchment paper on. Lay it on a counter and smooth it out by hand and let it sit for 10 minutes. When the oven is ready, smooth out them out by hand again. Then lay them on a pizza pans (Cast Iron, 15 inch. I have two but can probably buy smaller) with the parchment paper. I cook both for 5 minutes, one upper and one lower, then switch them and cook another 5 minutes. I can either store all of them for later in the fridge, or use them right away. If you want thicker, just make them 6 inch or so. Works perfect for use and they taste great.
G**Y
Price, Texture, Taste, and Ingredients ALL 5 star
When Type 1 diabetes made a debut in our home pizza was one of the main things that was missed. I'm a thin crust kind of girl, the rest of my family likes soft, pillowy, thick crust. This pizza dough is easy on BLOOD SUGAR. (for those who are diabetic, split bolus is still necessary due to protein and fat) but the line stays beautifully steady. The taste satisfied all of us. My husband mentioned it reminded him of a nice, soft, flatbread. It is quick to throw together. It is more springy and sticky than traditional pizza dough, but once you get use to it, no worries. I make two boxes at a time = 4 pizzas (sheet pans) and have them ready to go in the oven (after the 1 hour rise time) in 30 minutes or less. They cook up in 13 minutes and are AMAZING!!!!!!!!!!!!!!!
J**C
It’s pretty good
This is easy to make, especially within a couple of hours of making making a dinner choice. It satisfies a pizza craving, when you are looking to cut carbs, however It would Not be my first choice by any means when planning a pizza night. The crust rises well, but it does not crisp up or have the air pockets as you would in the King Arthur 00 combined with their bread flour, allowed to proof for 48-72 hours in the fridge. The result is night and day. I did bake in a preheated oven with a stone @ 700°’s Fahrenheit for 3 minutes as I do with the other KA 00 flour mix. Again, the taste was satisfying along with the standard pizza toppings. ( sausage, roasted red peppers, garlic ) It was a bit too chewy for me and is not on the same level as the above mentioned
D**.
I use it mostly to make Baguette
I started a low carb, keto-derived diet back in July of '22 - it is now February of 23 and I have lost 85 lbs. I was pretty heavy before the pandemic overtook us, and gained almost 40 lbs. during that period. Something had to be done so I chose Keto. Of all the sacrifices one makes, the most difficult for me is good bread (like baguette - you can get decent enough things like hot dog and hamburger buns and basic loaf bread for toast or simple sandwiches from the grocery store to solve for that) and, or course, noodles. You can make a pretty decent pizza from this, but it makes very good baguette style loaves. I use 1.5 cups of 110 degree F water to which I add 1/2 tsp sugar, 1 tbs of the flour mixture and the yeast packet. Put the rest of the dry ingredient packet into the bread machine, add a tsp salt and 6 tbs oil (I use avocado). After the yeast slurry is frothy (about 10 minutes), pour into the dry ingredients. Run the machine on dough mode - takes about 90 minutes for the mix, kneed, rise cycle. Dump the dough out onto a well oiled surface, cut in half, take each half and spread it out with your fingers (if it sticks to your fingers, get more oil your fingers) to form a rough rectangle about 5" by 13". Roll the dough lengthwise into a log about 1.5" in diameter by 13". Place seam side down on well oiled baguette pan (like: https://www.amazon.com/KITESSENSU-Nonstick-Baguette-Perforated-Baguettes/dp/B0912CCQSN/ref=sr_1_5?crid=1MBKO7NJL7CUB&keywords=baguette+pan&qid=1677423342&sprefix=baguette+pan%2Caps%2C343&sr=8-5). Repeat for second half of dough. Preheat to 400 degrees F for extra long - that is, after the oven preheats let it continue for 15 or so minutes to get all the oven surfaces good and hot. In the mean time, brush the top of the loaves liberally with oil or melted butter. I sometimes sprinkle the top with sesame seeds, everything bagel seeds or just leave it plain. Put the pan in the oven on the center rack and toss a handful of ice cubes into the bottom of the oven (important; makes the crust wonderfully crispy in just the right way). Close the oven quickly and bake for 40 minutes. It won't remind of that summer you spent in Paris, but damn is it satisfying. King Arthur makes a Keto flour they sell by the pound. I tried the same recipe with that and it doesn't work. Doesn't rise right, and tastes bitter. NOT the same. The Keto pizza box provides 2 decent sized baguettes for around $3.50 each. I think that is worth it - and they are delicious. If you need to store it, let it cool, put in a bag and refrigerate (no preservatives) or freeze. When you take it out, it will be damp/moist - re-bake at 400 deg. for 10 to 15 minutes and viola! Oh, by the way. That King Arthur Keto Flour (which does not make the best bread to be sure), makes WONDERFUL NOODLES! One cup flour + 4 egg yolks + dash of salt. Kneed until smooth (can be very sticky), wrap in plastic wrap, put in fridge for an hour. Use it with a pasta machine as normal. The noodles come out with a slight al dente mouthfeel. What I mean by that is that if you boil them for 10 minutes or for 45 minutes they are al dente. Period. I make lasagna and reheat in the oven the noodle consistency remains the same. I don't know why, but consider it a fringe benefit. For those who bemoan the "non-Keto"-ness of the presence of flour in the KA pizza mix I can only reply with: a.) my starting weight (335), b.) my current weight (248 and falling) and my pronouns, which are "Jimmy" and "Crackcorn". A successful diet has much less to do with rule following than it does successful, healthy weight loss combined with *sustainability*. With access to a decent bread and a palatable noodle recipe I can be on Keto literally forever. Long live the King.
M**U
Stands toe-to-toe with 'real' crust.
The first box I got had been damaged so some of the powder fell out into the shipping box, but there was still enough in the bag that looked ok and made 1 pizza (whole box makes 2 medium-sized pizzas). Obviously you need to pick a good sauce and the freshest toppings for a great meal, and that's on you, but let's assume you do... This one is outta the park for those doing ketogenic/low carb diets. Exactly like the crust you'd have in a typical pizza chain, or quite close to a real pizza from NYC (I have never, ever had pizza as good as in NYC except in NYC, and I've been around). Since you control the cooking environment and time, you can make it as you like it, and if you want Chicago style deep dish, it does that too. Don't mess with all these home recipes of nut flours and ingredients like ground cauliflower (I love cauliflower a lot, but it doesn't belong in pizza dough). So get this product, it will hit the spot for delicious bready, crust with the right amount of chew and taste, just make sure you do your part and use quality sauce and toppings!!! Total gamechanger.
D**A
Chewy and "real." Baking tips in review!
This makes a good Keto crust, better than others I've tried. The way I use it, it makes 3-4, 8-9" individual pizzas. Tips for the best crust: Time - Make this way ahead of time; like at 8 am to use at 5 pm., or even the night before. It holds and stretches better with more time than what's advised on the box. Bake - This stuff is not designed to make a thin crust, but I'd suggest you get it as thin as you can without it losing integrity (tearing). It does rise well during the bake so you'll still get a good crust; however, if it's made "deep dish" the center tastes doughy, even when fully cooked - definitely not as nice. Plus, it's extra carbs and if you're trying to do keto, stretching this into 3 pizzas is less carbs per pizza. f you have a pizza pan with holes, the crust bakes better, it's more evenly cooked and less "soggy" or "doughy" then when made in something like a traditional, solid-bottom ceramic backing dish. Mix/rest - I make this in my bread machine using the dough setting (it just does the mixing and rise for me). If you don't have a machine you don't need one, but I do think some additional time to rise helps - you can use an oven with the light turned on (not the heat, just the light) to keep it at the right temp for a good rise. If you do have a bread machine but it does not have a dough cycle, you can use any basic cycle with a rise, just make sure you watch your time and stop it before it starts any kind of baking. After mixing/kneading, it should look like a smooth ball of playdough - not stringy like taffy (indicates it's too dry), but definitely also loose and sticking to the sides and not liquid like a batter. Whether done in a machine or by hand, it should form a nice ball, like in my picture. I almost always need to add about 1-3 teaspoons extra water to get it to the right consistency. Split - Once risen, I cut into 4 parts, then use plastic wrap to wrap and freeze 3 of them. For the last one, I refrigerate it until about 2 hours before I want to use it. Then I take it out and let it get to room temp and rise one last time. Spread/stretch - I want to avoid flour (carbs), so to keep it from sticking to my hands and the pizza dish I use olive oil. I just spray the outside of the dough ball and the bottom of make baking pan, plop it on and then alternately press it flat and stretch it right onto the pan, working from the middle to the edges. If it's resistant (it keeps jumping back to a ball), just stretch it as much as it wants to go, leave it with plastic wrap over the top, and come back in 15 minutes. Add - I like adding about a 3 TBL of parmesan and about 1 tsp Italian seasoning right as I am pressing it into the pan. If you add at the beginning the protein of the cheese might mess with the rise/texture. If you don't bake it at 375 or 400, the crust won't cook completely underneath (especially if you're making one big pizza). If you're worried that your toppings will burn, you can loosely cover the top with foil for the first 5-7 minutes, but I didn't find that necessary.
D**L
Just eat the toppings!
Don't expect a good-flavored crust. The pizza topping were delicious but the crust is just a carrier. It barely rose in volume (even after a couple of hours). It was tough to roll thin, cardboard like, and not very tasty. I won't purchase again.
Trustpilot
1 month ago
2 weeks ago