
DOWNLOAD THE APP


Customer Services
Copyright © 2025 Desertcart Holdings Limited
DOWNLOAD THE APP


⚡ Power up smartly, stay charged effortlessly!
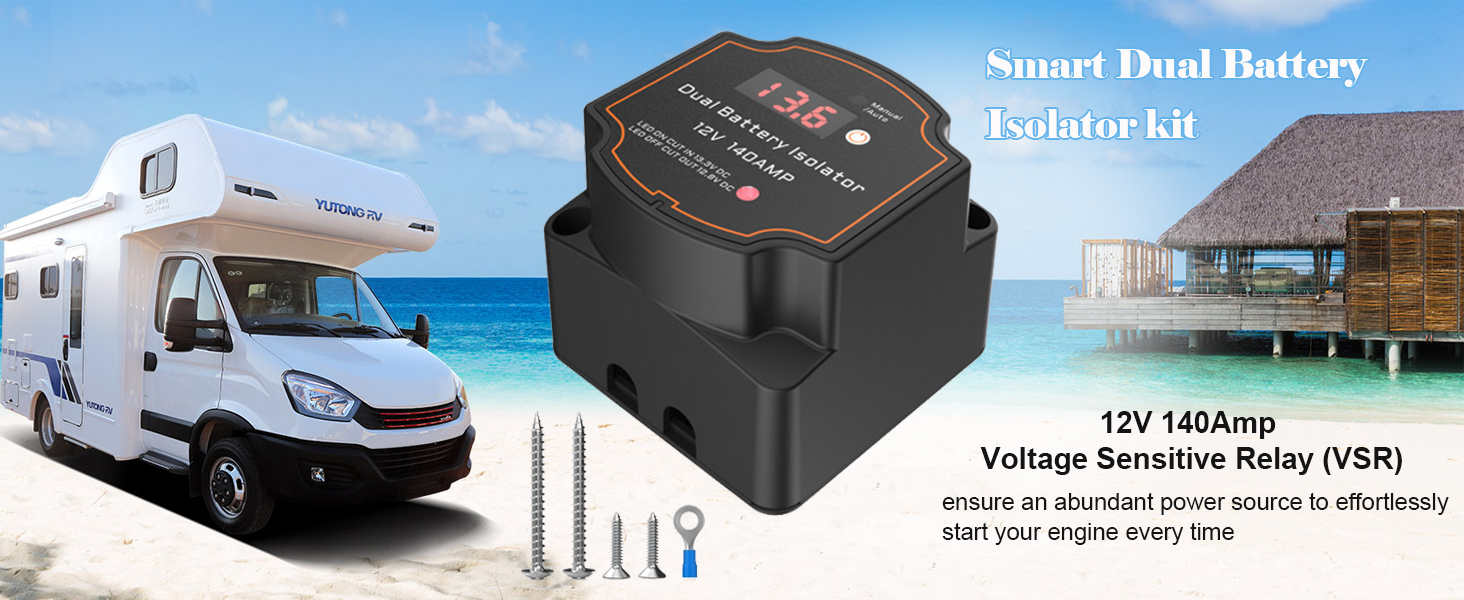
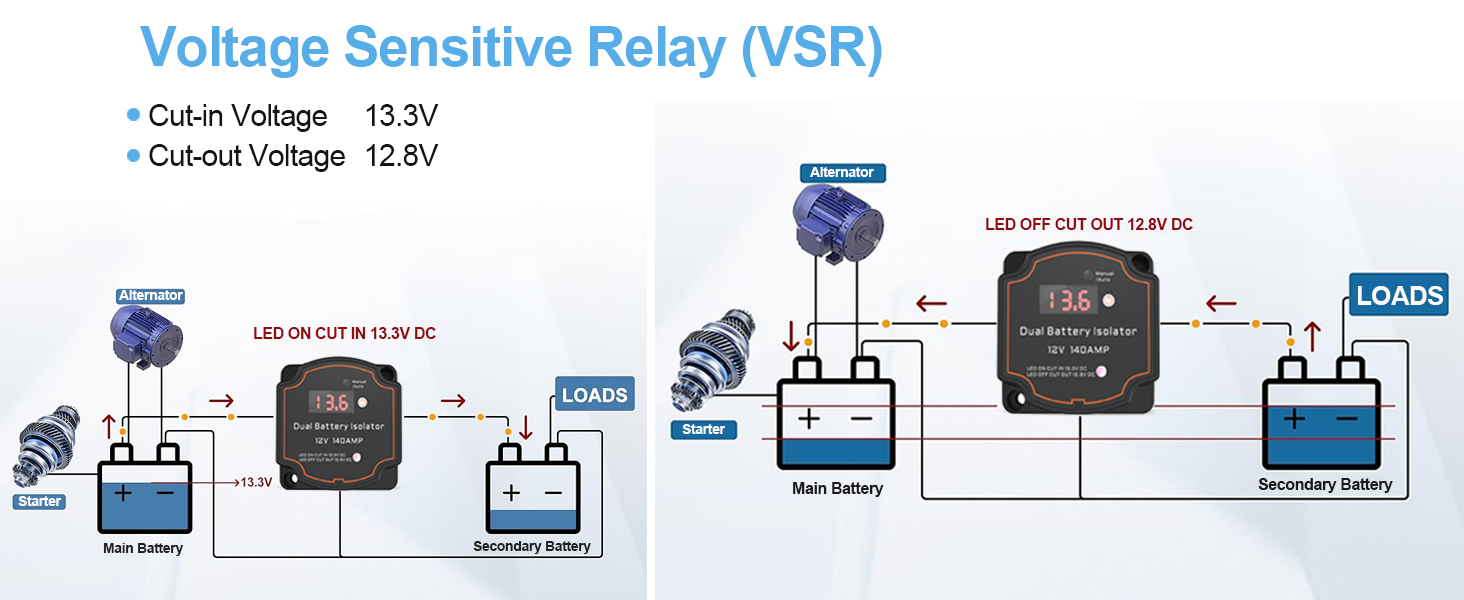
The Heart Horse Split Charge Relay is a 12V, 140 Amp smart dual battery isolator featuring a real-time LED voltage display and selectable manual/automatic modes. Designed for rugged use with an IP68 waterproof rating, it protects your batteries with advanced voltage-sensitive relay technology. Ideal for ATVs, UTVs, boats, RVs, and campers, it offers easy installation without alternator or ignition wiring, ensuring reliable power management on the go.

| ASIN | B0B9GMP4SZ |
| Batteries Required? | No |
| Batteries included? | No |
| Best Sellers Rank | 4,756 in Automotive ( See Top 100 in Automotive ) 7 in Car Relays |
| Colour | Split Charge Relay |
| Customer Reviews | 4.3 4.3 out of 5 stars (449) |
| Date First Available | 12 Aug. 2022 |
| Item Package Quantity | 1 |
| Item Weight | 200 g |
| Item model number | sku3426-yy |
| Manufacturer | TripleWaterTripleGood |
| Part number | sku3426-yy |
| Plug profile | Screw Mount |
| Product Dimensions | 6.8 x 6.8 x 5.3 cm; 200 g |
| Size | Split Charge Relay |
| Specification met | ABS |
| Wattage | 1680 watts |
S**R
Can recommend
Works perfect.
A**R
Simple to install
Great bit of kit, easy to install and fully documented in the instructions. My only concern being the pcb coating (like a rubber / gel) grinding away when the terminal was fitted with a wire / connection and the nut was tightened.
J**O
Good switch
Works a treat quick insbtall no problems
A**R
Works well!
Works great keeping battery charged!
A**P
Easy to install. VW T5 instructions below.
Easy to install. All the parts you should need... but if your vehicle battery is in the engine bay (not in the cab/under a seat) you might need a bit more red cable. (I fitted to VW T5 and just had enough red cable. How I fitted to VW T5: Starting at the battery under the bonnet. I routed the red cable thru a rubber grommet under left (passenger) side of the windscreen scuttle panel. Then routed it under the carpet covering the wheel arch. Then under the plastic step and mounted the charger box to the plastic step in the passenger side door opening. Then located the leisure battery behind the passenger seat with cables from the charger box routed under the carpet... I hope this helps someone, otherwise I've just wasted 4 mins of my life.
D**F
Easy to install, full kit & works well
The kit arrived with all components as described. Relay, ready-finished cables cut to length, fuse holders & fuses, screws, cable ties, etc. Installation was easy, my only observation was the enclosed leaflet/instructions doesn’t show installation of fuses to each battery, so be sure to follow the wiring diagram shown on the web advert. All worked well first time.
A**R
Good buy
Works perfectly
G**.
Not compatible with lithium batteries
This is a good product and works fine with lead acid batteries, but I was using it as a safety cut out for lights running off a lithium battery and it drained the battery to the point that the bike wouldn’t start (Measuring 10.9v)
C**.
Fungerar som beskrivs. Saknar dock utgång för extern indikation av status.
M**Ì
Funziona veramente bene, non ha nulla a che invidiare ai relè di ricarica più blasonati che si trovano in commercio. Ne ho già presi diversi e mai avuto problemi. Interessante il display che indica la tensione di lavoro. Ovviamente si spegne dopo alcuni secondi e per visualizzare bisogna schiacciare il bottone. Il led di funzionamento invece lavora in automatico come sale la tensione.
J**R
Works as described. Nice to have digital display to confirm voltages. So far so good. Been installed a few months.
C**N
Facile à installer marche au top.
C**E
Bij ene schema is de startbatterij boven.... bij ander schema is het beneden
Trustpilot
4 days ago
2 weeks ago