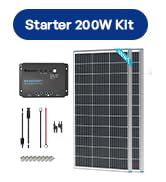
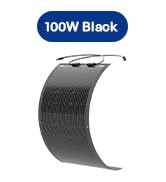
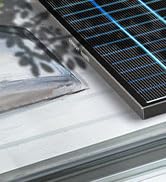
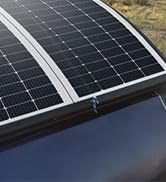
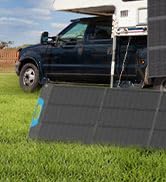
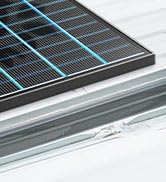
⚡ Seal your solar setup with confidence—weatherproof, worry-free power!
The Renogy Solar Double Cable Entry Gland offers a weatherproof, UV-resistant solution for routing solar cables (2mm²–12mm²) without drilling. Made from durable ABS plastic, it ensures stable, vibration-resistant installation ideal for RVs, boats, farms, and cabins, delivering reliable protection in all climates.


| ASIN | B01LWASUU1 |
| Best Sellers Rank | #45,298 in Patio, Lawn & Garden ( See Top 100 in Patio, Lawn & Garden ) #293 in Solar & Wind Power Parts & Accessories |
| Brand | Renogy |
| Brand Name | Renogy |
| Color | Corner Bracket |
| Customer Reviews | 4.3 out of 5 stars 429 Reviews |
| Finish Type | Black |
| Finish Types | Black |
| Global Trade Identification Number | 00816360023883 |
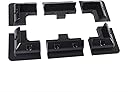
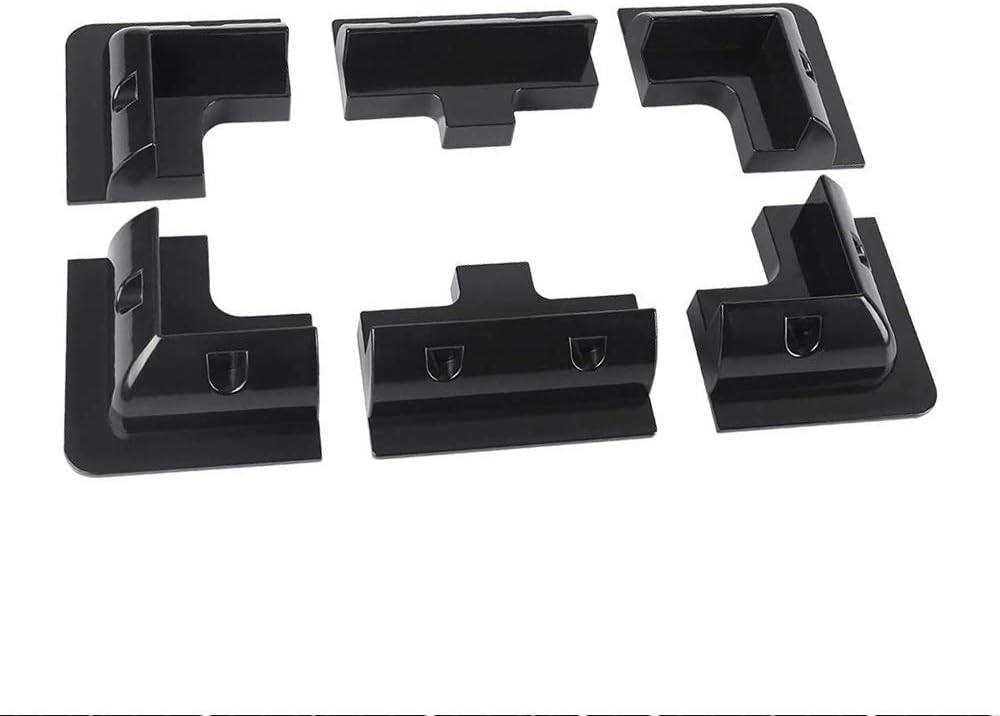
| Included Components | 1 x Renogy Corner Bracket Solar Panel Roof Drill-Free Mount |
| Item Depth | 2.3 inches |
| Item Dimensions | 7 x 4.6 x 2.3 inches |
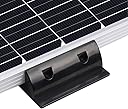
| Item Type Name | Renogy Solar Panel Roof Drill-Free Corner Bracket Mount for RV, Boats, |
| Item Weight | 7.2 ounces |
| Item dimensions L x W x H | 7 x 4.6 x 2.3 inches |
| Manufacturer | Renogy |
| Manufacturer Part Number | Solar Panel Roof |
| Manufacturer Warranty Description | 1 year |
| Material | UV-resistant ABS Plastic |
| Material Type | UV-resistant ABS Plastic |
| Model Number | Solar Panel Roof |
| Mounting Type | Corner Mount |
| Set Name | 1 Set |
| UPC | 816360023883 |
| Unit Count | 1 Count |
D**.
Surface prep is key
I did a lot of research and this product gives strength to the claim that you can do a no holes solar panel installation. I'm happy with the product it is a strong and well built. Looks like it had a good amount of surface area for the adhesive to use. I will add that they are hollow and it would be a better grip if it wasn't but... Instructions seemed a little off... So in my research I found that 3m vhb tape was the 1# go to for drill free installation. So I got some 3m vhb tape 4950, sikaflex and eterna bond tape to hold it. Also de natured alc. And sand paper or surface prep. NOTE. The surface prep is key you must have a good clean surface for a good bond. If I could do it over again I would have done better surface prep. My first misake was screwing the legs to the panel befor it was on the roof (im glad I didn't vhb or sikaflex the legs to the panel.) My roof had a slight pitch so I had to take off a few legs and re screw some so all the legs were flush to the roof for maximum bondage. I put the legs on the panels on the roof I put vhb tape on the bottom of all the legs. Clean roof well let dry, mark corners, peel vhb tape, set, press and seal with sikaflex. Let it dry and cure then I added some eternabond tape as an extra precaution that stuff is strong. Also to note had my panels on the feet bracket mount when I did the installation so I didn't get to seal the back of the legs. I'm going to just use a spray sealant like flex seal on that inside area.
F**T
Great alternative to making holes
These in combination with Sikaflex 221 is an unbeatable combo. The first time I installed solar panels on an RV roof, I used regular steel mounting brackets and screws. Big mistake. The screws did not find much to bite into, since RV roofs aren't made of much other than insolation. And of course, any time you drill a hole, you are making a potential leakage point, meaning careful sealing and constant maintenance. With these brackets, you have plenty of surface area to get really good adhesion to the roof. Use a bunch of Sikaflex, and you are good to go. I mounted my Renogy solar panels to the brackets by drilling holes (each bracket has recessed points specifically for this, and using bolts. After the brackets were bolted on, I glued them down to the RV roof using Sikaflex. This will allow me to change out the panels easily should one become damaged, but I did not have to drill holes to mount the panels. I have driven all over the country with this setup, through all weather conditions. Zero problems.
C**S
Installation to osb/rubber roof
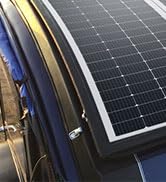
I read installation advice here first. Then although I found my rv roof was fairly flat I was still unable to use the two center supporting pieces for my 100 watt panel since the panel rocked slightly when they were in place. I mounted the corner support pieces and panel temporarily and used a magic marker to outline the corner positions. Then I used a razor knife to cut the rubber roof material out to expose the osb. I applied Sikaflex 252 liberally to corner supports and glued them to panel, then glued panel to roof. I used rubber roof sealant to further seal the corner pieces to roof the next day. After the glue had completely set I pre-drilled supports and screwed all corner supports to roof and panel frame (using small stainless steel screws). I removed roof lag bolts and filled holes with epoxy and reinstalled lag bolts. I like the combination of glue and screws to hopefully retain the panel. I feel that the added screws are necessary unless your roof is completely flat and you can also use the center supports to gain more area for adhesion. After gluing my panel I checked a few days later and one corner was loose between support and panel, but all corner supports were secure to roof with only glue. I added screws because the one corner was loose probably because my roof was not completely flat and the slight strain caused one corner to release. I will be checking screws for tightness when travelling.
D**W
Well made easy to use
Good quality
E**A
But it if you don’t want drill your roof
Works great, as it should, after 18 months in the sun and rain.
T**W
Nothing special
I expected these to come with something that holds the panel in place. There were no clamps, tape, or anything included. You have to buy and apply glue to both sides of this gluing it to the roof and then to the panel. This is essentially just a platform to lay your panel on, in which case you might as well get some wood or other object as this is a simple plastic riser. I followed their instructions and made a sticky freaking mess. I have no idea why they advised to glue this product to the panel first instead of roof first. Impossible to flip over the panel and lay it perfectly in place on the first attempt with glue all over bottom. Ignore the instructions and lay out where you want these parts to sit on your roof and mount them first.
J**1
This works good!
This works good! I used it to mount a 100watt solar panel to my camper roof and it worked good. Very solid. I used double sided exterior roof tape and gorilla glue to mount them to the roof. Very strong combo. This mount didn’t budge and inch once it was installed.
P**B
Solid
We are using these with 100W Renogy solar panels on our motorhome. I was a little worried because they were quite a bit for expensive than the Z brackets but they are very SOLID. I had to change the positioning because of the slight curve of our roof. We've driven about 1000 miles since then, including very heavy winds, and haven't had an issue. I used the SikFlex that is recommended along with Eternabond tape on the front edges. I also used self-tapping screws to secure the panels to these brackets. Very happy so far!
A**O
SIN PERFORACIONES EN EL TECHO
Piezas de excelente calidad y buena construcción, ideales si no quieres hacer tantas perforaciones en el techo o no tienes rieles de agencia para la fijación, las piezas las tuve que modificar un poco para que ajustaran en las ondulaciones que tiene el techo y para su fijación utilice Sikaflex 221; las únicas perforaciones que tuve que hacer son las de ingreso de los cables al interior de la camioneta
B**E
Glue is very stiff.
Excellent product but be well prepared as the glue is very stiff. Our glue gun broke during the job causing the glue to stiffen further before we could complete the job. Recommend you buy a good quality heavy duty glue gun.
D**.
Cool product
Solid/well thought-out product. A little large on account of the needed footprint. The footprint surface and the roof are your adhesive surfaces so, you need it. Or, punch holes through the roof and use screws.. I like them but if you are doing a closely positioned array, maybe their width could be an issue.
K**Z
TOP
Einfach genau das was wir schon lange gesucht haben!!! Top Qualität. Sehr schneller Versand! Danke.
C**N
Manque des trous pour la fixation du panneau
Trustpilot
5 days ago
1 month ago