

🔥 Keep Your Hands Toasty While You Conquer the Road! 🏍️
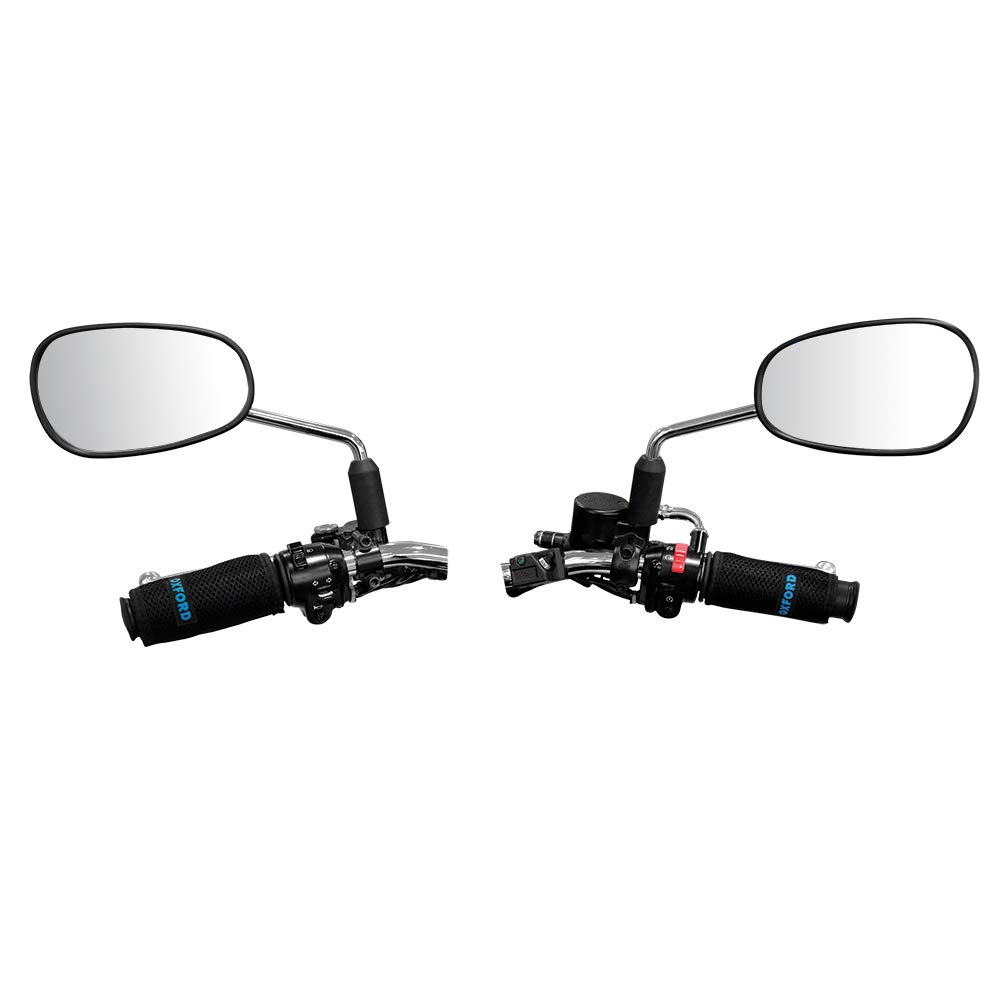
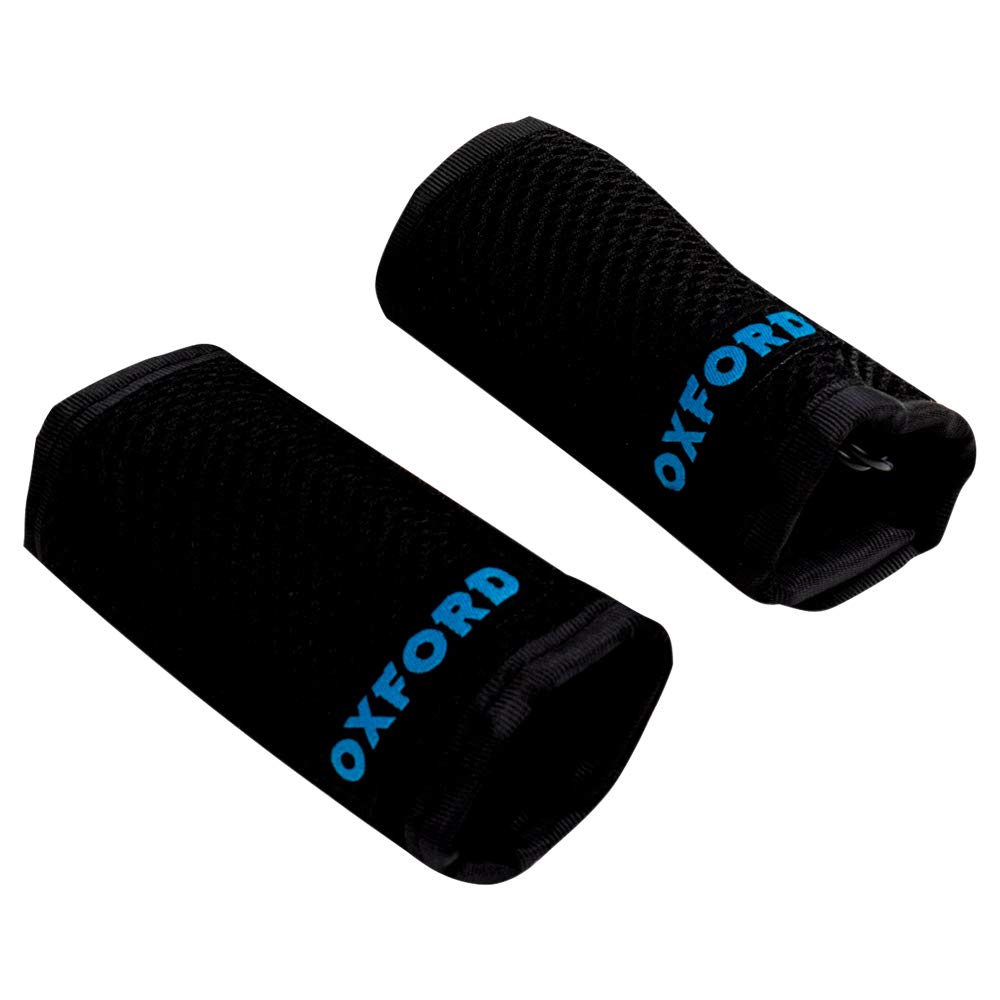
The OxfordEssential HotHands are temperature-controlled motorcycle grips designed for ultimate hand protection. With waterproof and windproof features, a durable 1500 Denier polyester fabric, and a universal fit, these grips ensure comfort and safety in cold weather. The innovative design includes reflective piping for visibility and internal pockets for Oxford HotHands, making them a must-have for any serious rider.
D**L
Quality grips, easy install, very good heat, and great support from vendor
I've just installed the Oxford Premium Sports Heated grips on a first-gen FZ1. Installation was straightforward. While you can wire through a relay, the Oxford controller has an auto-shutoff feature if you leave the grips on after powering off the bike. I mounted the controller on my left side fairing insert, but you have lots of flexibility on where to mount (and Oxford includes a metal mount bracket that you may find more useful for your application).The grips fit my 7/8" bars pretty well. These grips are not expandable or rubberized like a traditional grip (they have a hard plastic shell on the inside... the part that makes contact with your bar or throttle tube). Oxford includes a glue (they call it 'super glue', but it's very runny or watery in consistency. While I had hoped that the grips would be snug enough without any glue, in my case the grips were a snug fit, but not snug enough to be secure without some sort of glue. So I used their glue... not tons of it, but enough. So far, they seem to be holding very well. A tip on the glue... I applied a bit to the inside of the grip on the section that is towards the inside of the bike (if you put it on the bar, then as you slide the grip on, it's likely going to just press the glue along the bar and run out everywhere). Again, it's watery, so be prepared for some to run out the outside as you slide the grip into place. Also, dry-fit it first and mark exactly where you want it to land. You have very little time before that glue sets... maybe just a couple of seconds. So lay down towels to catch drops, put on gloves, dry-fit, mark it, ensure you can fit it quickly, then glue on the side of the grips, and finally apply it and get it into position quickly. You're probably wondering about removal. So am I. :) I'll cross that bridge when I come to it. Obviously you can cut off the grip, but if you wanted to remove without destroying, maybe lots of heat and an injection of acetone or goof-off (not sure this won't ruin plastic of the inside of the grip, and perhaps the throttle tube). Anyway, something to consider.The grips a just slightly larger in diameter than either stock or Progrip grips, so a slightly more bulky feel. The Sports grips have a bit of a rubberized textured surface. It's not soft like a Progrip dual-density gel grip, but not hard either. Perhaps a firm textured surface describes it best.The controller has a number of settings, and once on the lowest setting, if you press [-] to reduce setting again, it powers the unit off. Buttons are large and tactile, so easy to operate with a gloved finger. And the LED light is easily visible even in sunlight.With temps near 40F, even just the 50% setting is more than adequate and delivers lots of warmth after just a few minutes. I find the heat to be very consistent across both grips (often the left side grip is colder due to the heat-sink of the bar, but with the Oxford grips, this doesn't seem to be a problem). On the higher settings, these grips get very warm indeed. And of course, it's not the same as a heated glove liner that covers the entire hand, but it does make winter riding very tolerable. Nothing is worse than the pain of cold on your hands/fingers, and with heated grips, your ride can be much more pleasant.Overall they seem to be high quality and are working well. I'll update here if my experience changes or I see issues in the future.NOTE: In pics, my left grip is flipped where I ran the wire on the top. This is not typical. Normally you want this to be running down and out the bottom. I ran it this way because I have non-standard bars on my bike, and they have very little clearance with the tank when fully cocked, and it just ended up being better clearance this way.
A**A
Installed great on 2016 kawasaki versys 650 (+ installation tips)
Just installed these on a 2016 kawasaki versys 650. I had the ADV version of the grips.They went on great and look great - and can't wait to try them going over the mountain passes in April :)Here are a few tips that I learned along the way:1. cut the old grips off with a rasor blade - don't waste time trying to save them :(2. clean both sides well - *keep cleaning* (I used 100 grit sand paper and a razor) until you can easily dry fit them by sliding straight on with no twisting motion. Dry fit the grips in the position with the arrows on the grips (see instructions) pointing down to the ground -- this works well on this bike.3. with my bike (2016 kawasaki versys 650) the grips needed to be trimmed at the ends with a razor blade - about 1/4 inch. When on the bike the bar-end protectors/weights are bolted on they should *NOT* - repeat NOT - interfere with or push-in the grips when installing! ..especially on the throttle side as this could be a serious safety issue.4. Okay - ready to glue : apply glue liberally wearing some cheap rubber gloves - rubbing the glue around the whole bar. A liberal amount of glue will act as a lubricant and allow the grips to slide right on quickly.5. Prepare to slide the grips on (just like when you were dry fitting) - but point the arrows on the grips forward such that after you slide the grip on you'll perform a quarter turn to cause the arrows to point towards the ground.6. Slide the grips straight on - arrows forward, in a single motion , then quarter turn them towards the ground.7. complete the electrical hook-ups.Note on electrical : depending on how many things you have attached to the battery you may need to buy some longer terminal bolts. These grips are the 3rd thing I'm attaching ..so need 1/4 inch longer bolts.
T**W
Great for the price, but not quite as convenient as fancier solutions.
I use them down to about 32F/0C, which is as cold as I care to ride, thank you very much.Pros:- Don't seem to drain the battery when not on (just be sure to switch them off)- Quick to warm up- Comfy dumfy- Good amount of heat- Weatherproof I think?- Over-grips are very easy to remove when summer rolls around- Buy these and transfer from bike to bike, and never need to buy another set again!Cons:- Not adjustable for heat. WILL get hot enough to burn your hands if you attempt to use as a substitute for proper winter gloves (ask me how I know...)- They squirm about a bit under your hands as you ride, which makes me uneasy but hasn't contributed to any loss in control so far.Notes:- Be sure to clean/wipe the area before mounting the control switch (may be advisable to zip-tie the switch on the handlebar)- These heat your palms and the inside of your fingers, but you might consider handguards to keep the wind off the outside of your fingers- The velcro part of the heaters isn't heated (obviously), so take care where you place that part when attaching the grips- Definitely use with a pair of thick gloves!
D**S
Lovely Jubbly Grips !
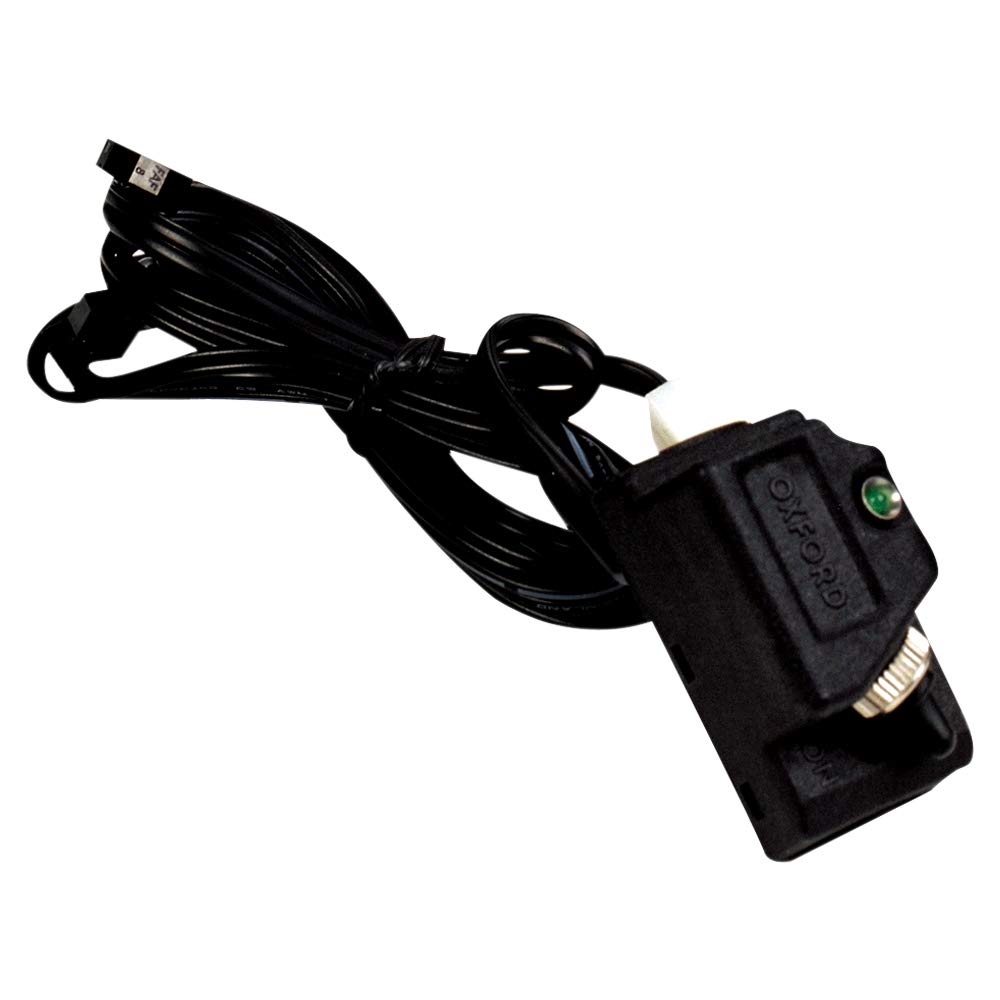
Excellent quality heated grips , purchased for my Triumph Speed Triple 94R (65 plate). I've never fitted heated grips before but did a bit of research watching youtube vids and asked a few biker mates etc. Initially the hardest part was removing the OEM grips, I did think about slicing them off with a knife but didn't want to risk damaging the bars underneath, after a bit of umming and arring decided on a long flat blade screwdriver and some fairy liquid drizzled over the shaft of the screwdriver, inserted under the grip, ran the screwdriver around the circumference of the grip and et voila the grip just slid off, amazingly easy !!The grips come with a tube of superglue, I didn't think I was going to need this but the left grip slipped over the handlebar easily and was a little on the loose side so I ran the superglue around the handlebar and some inside the grip, fitted the grip and left to dry, I let it dry overnight before riding the bike with the heat on. The throttle grip was slightly trickier to install as the plastic twistgrip has raised plastic on the end of the grip making it hard to slide the grip on, I trimmed the plastic flush with the twistgrip and then eased on the new heated grip, was quite tight and took some pushing on, a little smear of fairy liquid made it easier. Just be mindful of the cable position when sliding on the throttle grip, you need to allow for the front brake lever and for when steering the bike , once you are happy with the grips you can route the cables to where your battery is and cable tie in place with the cable ties you get in the pack. The heat controller comes with a bracket and small self tapping screws and looks and is quality, I fitted mine to the left mirror bracket, as I have bar end mirrors I just reversed the bracket to allow for the heater control bracket to be attached.These heated grips don't require a relay as the controller has a built in battery level sensor, so if you forget to switch the grips off the controller knows this and stops heating and switches off when the ignition is off. I've tested the heat in dry and wet and very cold weather, on 100% they are very hot, even through thick gloves, takes a few minutes for them to heat up but boy do they keep your hands warm. Took me a couple of hours to fit , just take your time and you will be fine. Very pleased with these, highly recommended.
M**N
Effective, easy to fit. I am impressed.
Bike fitted to: 2013 Suzuki GW250 Inazuma L3.I bought these almost exactly a year ago, for winter 2016, but put off trying to fit them as I thought it might be difficult, lots of long bits of wire, a control panel, getting the old grips off, and getting the New ones on, all in all it looked daunting. (And I consider myself a confident DIY'er.)I wish I had tried earlier, as fitting was very straight-forward.The wiring from the grips, the control panel and the main power cable that went on to the battery, that on the table looked to be miles long, 'where on earth was I going to hide all that wiring?' long.... Turned out to fit nicely, I ended up with perhaps 30cm of excess wire on the main power lead, easily tucked away under the seat and cable-tied to the frame.I had to remove 4 bits of fairing down one side, together with a cable cover/guide on the head-stock, and then routing the wires was a doddle. You will,however, need to buy some more cable ties, the kit came with 4 (or there-abouts) and I ended up using over well over 10, to ensure the wires stayed put and would not rub through.As expected the right-hand grip did not fit over the throttle after the factory grip had been removed, but if you own a Dremel it is very simple to carfuly sand the throttle inner bit down until the new grip is a good tight push fit.With both grips glue is a must, to ensure the new grips do not move, but the glue is included, and works.It took me just over 2.5 hours, but I must point out that I was in no hurry & at work on my day off. So I had 3+ cups of tea, several smokes, saw 2 customers in, invoiced off their jobs and saw them back out, chatted to my co-workers, and replaced 4 bolts that has heads going rusty with stainless bolts that had to be cut to length. I probably spent 1.5 hours not actually doing things related to fitting the grips.So, very easy to fit.Do they work?Yes, I tried them and they get nice and warm, and I have not had to try them past 40% (power settings are 30%, 40%, 50%, 75% and 100%.)The intelligent battery saver works perfectly. I turned them on this morning, rode to work, and stopped for a pint of milk on the way, and deliberately 'forgot' to turn them off. 5 minutes in the shop, back to the bike and the light was flashing, saying that they were about to turn off.Got to work, and somehow forgot to turn them off again. 10 minutes later and they had turned off.The only bit I do not like is the little zinc(?) plated braket that the control panel screws to, as I can see it going rusty and bleeding red in a few months. I have a bit of spare stainless plate, so I will be copying it in the next few weeks,Overall, highly impressed.
S**0
Great product
Super easy to install and gives a decent amount of heat.The best thing about these is the fact they don't turn off when the bike stops at the lights, so when you start riding again there is no need to press the button again.it goes into a temporary battery saving mode when the bike is turned off and kick back into functionality again if you start riding. They completely switch off after a minute or so after the bike is turned off.
J**S
Much better than expected
Fitted to Honda Nc750s 2016.TLDR: These are superb!I have a heated steering wheel in my car that gets warmish so wasn’t expecting anything amazing.Affair waiting a day for the glue to fully set I took the bike out for the work commute setting grips to 100% as it probably wouldn’t be that hot.How wrong was I! After a few minutes the grips were absolutely roasting beyond belief. I now set them to half or less and that’s pretty comfortable in low temperatures, 4 degrees or so at 70mph.Fitting them was very easy, clutch side slid on no hassle. The throttle side had to be cut with a stanly to remove original grip. Then I used a Dremel with a circular sanding bit to remove the plastic sticking out bits. There’s plenty video guides on YouTube.Would recommend to anyone with cold fingers.
J**L
Perfectos para el invierno
La instalacion es sencilla, basta con que pongas los polos + y - en la batería y un interuptor de corte de energía para evitar posibles drenajes de batería. al 50% ya se nota el calor (con unos guantes de invierno) y al 100% ya llegan a quemar. Totalmente recomendable.
Trustpilot
2 weeks ago
5 days ago