
Desert Online General Trading LLC
Dubai, United Arab Emirates
Desert Online General Trading LLC
Dubai, United Arab Emirates


Full description not available
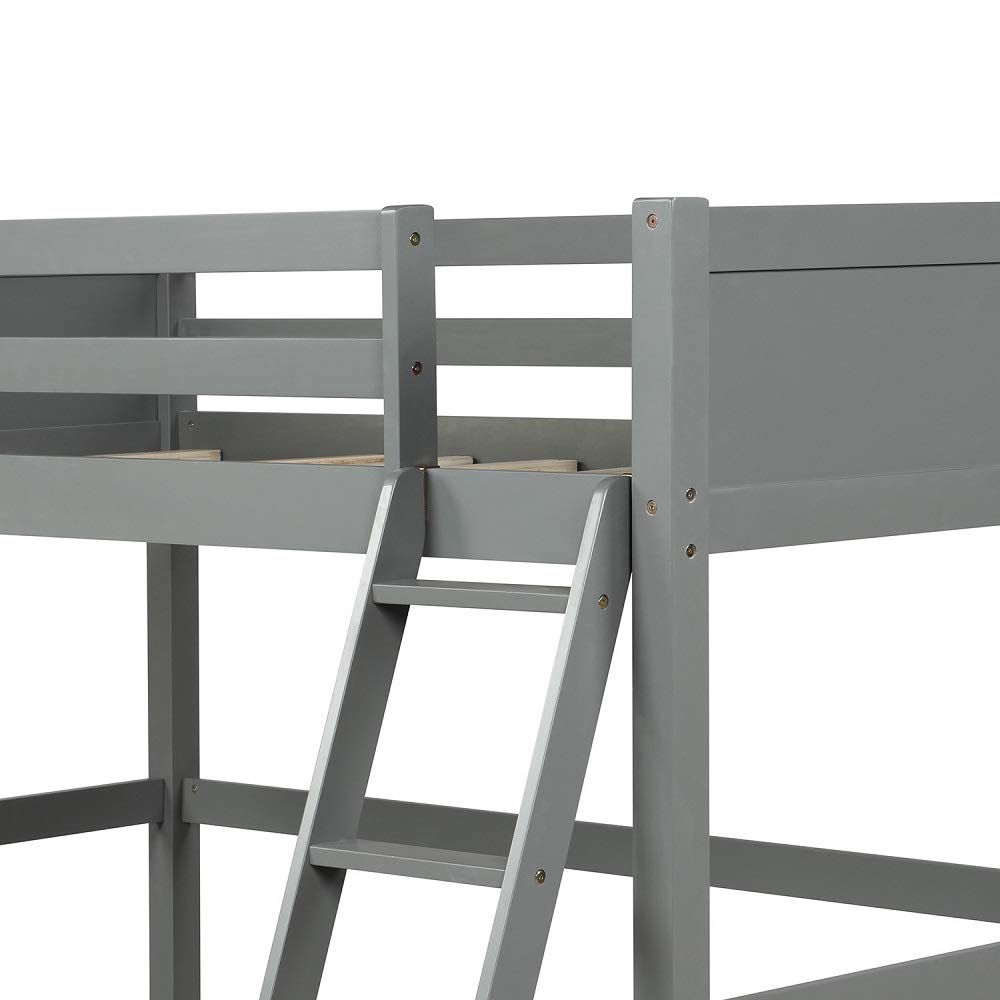
D**I
You can do this! Just be patient...
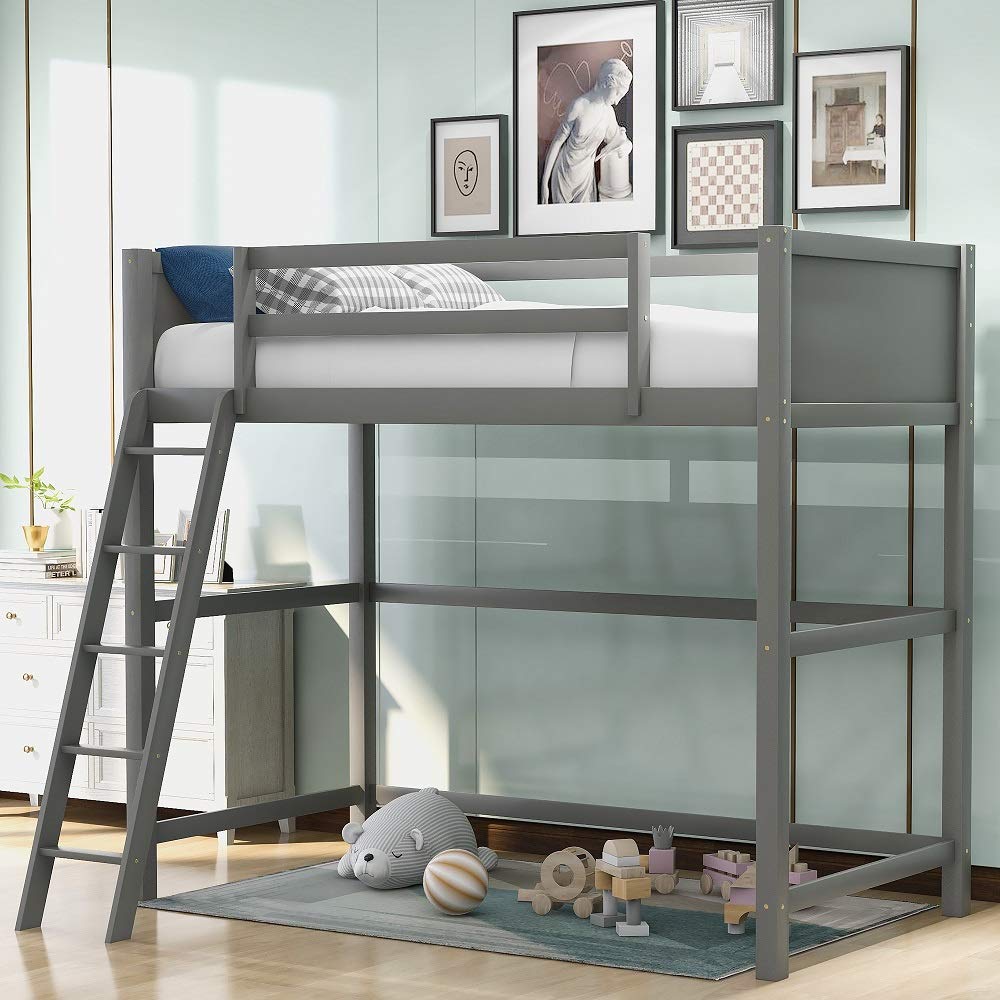
This will be a long review -- but if you buy this product I hope this is helpful.I am a somewhat crafty but otherwise unskilled mom in terms of handyman stuff. I put this bed together in a couple hours with some help from my 8 year old son, who is awesome at lego instructions, so he was super helpful.Mine came with instructions - some people found better ones online but I couldn't so I made do. Here are some tips:1. Pull out everything in the box and inventory the contents. You will likely find that some things are funky, like: some wooden parts have no label. If you pair everything up (all the bed legs, all the slats, etc) you will quickly see what is what. Some of the hardware is mislabeled - the #10 screws are not marked but are in the package with the ladder brackets. The #17 screws are actually #16 and are referred to interchangeably in the instructions.2. If you use a drill, you will prob strip the cheap hardware and you'll be screwed. No pun intended. Chuck the crappy Allen wrench provided - it is the little metal tool in the pic - and use the tool I have pictured here. MUCH easier for all those hex bolts and you will not strip them. Sorry - I think it's called a socket wrench? But not sure.3. For each page of instructions, line everything up first and put the wooden dowels in. Put the screws in last, and to be super safe, leave them all a little loose, tightening once they are all in place. This is especially important when you get to page 6, when the picture shows everything coming together at once, and if you do it one piece at a time, you will not be able to pull the bed legs apart enough to get the supporting crossbars in. I hope that makes sense. Also - on that page, it doesn't tell you to put the short cross bars (labeled "D") in at head and foot - but be sure to do that with dowels first, as I said, or you won't be able to squeeze them in. I had to saw the ends off a couple dowels to make this work and that will compromise the stability and the weight-bearing of the structure.4. On that same page (page 6), the screw labeled "5" is actually screw "2". At the bottom, the pieces labeled "P" and "O" should be switched, since the pilot holes for the dowels (the pre-drilled holes) are supposed to face in.5. In my opinion, there should be two more slats where the mattress lies. They only give you 8 (part "15") but this leaves gaps at head and foot, and a soft mattress will dip down at those places. You could buy two more pieces of wood, but we elected to get plywood and place it on the slats so the mattress will lie flat and the weight will be distributed evenly.Overall, this bed is really pretty and I think it is a great deal for the price. Once I got going, it was fun to assemble. There is plenty of room underneath for a dresser or desk, or play area. I did not attach the ladder so I will be able to switch it from side to side. It comes with soft felt for the inside of the brackets, but it makes small marks when you use it anyway - no big deal.I hope this was helpful to someone out there! Happy constructing!!
M**S
Great bunk bed
Works and looks great. We bought a nice twin mattress for the top but it’s a little too tall for the safety rail so I will have to figure that out.Also you can absolutely fit a queen underneath in an L shape with the ladder installed. Fits perfectly.
T**E
It feels like I'm in a college dorm :D
This bed is exactly what I wanted when I envisioned a loft bed for my room. Before buying this loft bed, it took what seemingly felt forever to find a loft that was high enough to fit a desk underneath, but not too high that it would have too little headspace. The measurements on this loft bed are perfect. The sleeping space is more spacious than I had initially expected, so that's a plus. The loft bed is surprisingly sturdy, but this is because it was anchored to the wall (if you're unable to anchor to the wall, I'd assume it would still be a little sturdy). The only thing that sparked a little worry in me were the slats (the wooden planks that hold the mattress and myself), the slats seemed to bend more than I would like when I was testing it out on my brother (he's about 120), but it was because he was staying in one area. If I was lying down and distributing my weight, it wouldn't bend as much.I definitely recommend wood over metal because of the sturdiness of the material. Also wooden step ladders are much more comfortable than metal ones.I put a 5 in mattress on it (but it never seemed to really fully inflate so it's really like 4 in), and there is still a good amount of space for the guard railing, so you could possibly put a 6 in mattress on here.That's basically it in terms of the product itself, the only downside I have with loft beds in general is the fact that I have to climb down it half asleep in the morning (so that's a factor that you should consider).
B**T
No assembly instructions
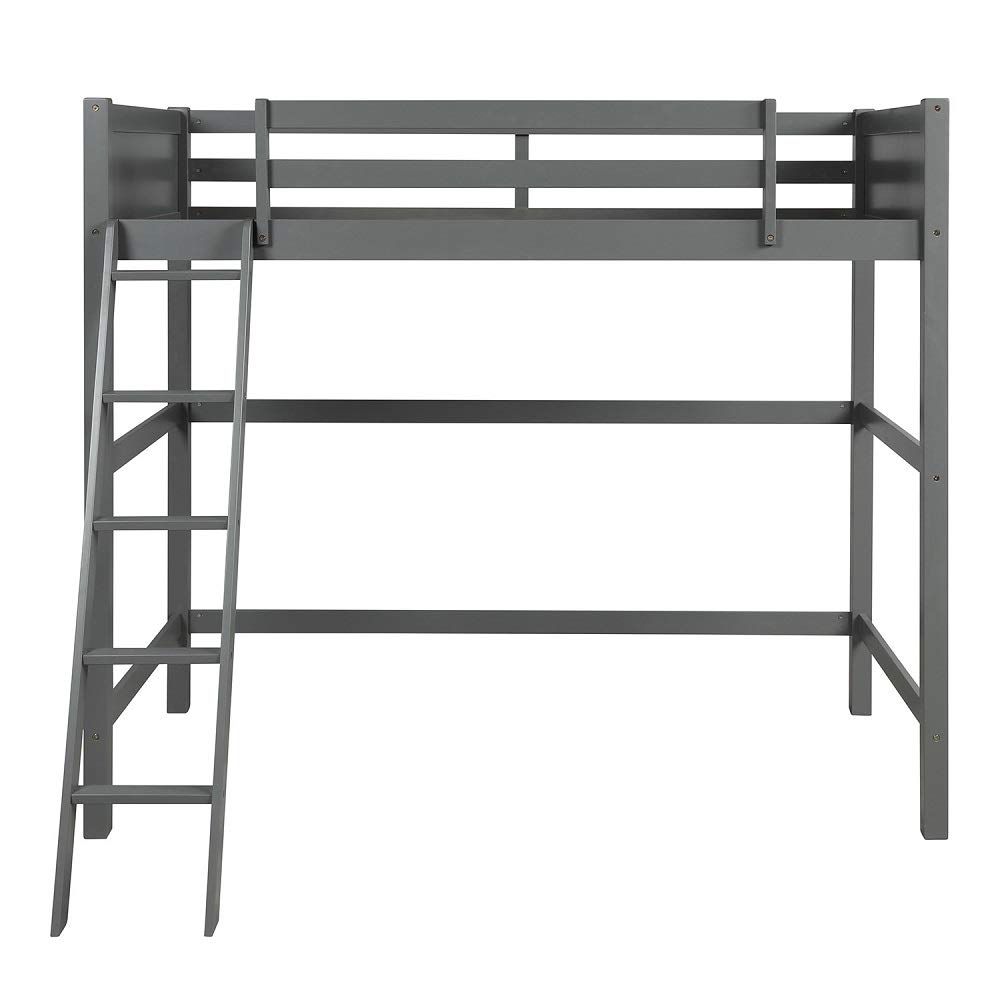
Here are the instructions, which the seller should include a link to in the product description since including them with the product is apparently challenging.Since amazon is run by people who are garbage at doing their job, we can't include useful links in reviews. So, assuming this gets by the tards in charge, add the following to the base dropbox site:/zz6xibkx4gqw5di/Loft%20bed%2C%20Harper%26Bright%20Designs.pdf?dl=0The bed is pretty good. Easy to assemble once you have the directions. The two strips of wood that are responsible for holding the slats, and therefore the mattress+kid, don't *appear* super strong, and make me a little nervous, but hopefully they're reliable. The slats are supposed to be screwed in, and where they go is right above where each screw goes into those important supports from the side to hold it to the rest of the bed. So screwing in the slats seems like it could significantly damage the wood at its most important points. So we simply opted not to screw in the slats, which seems totally fine.
Trustpilot
1 month ago
1 week ago