We remain fully operational. Our teams are working around the clock to ensure your deliveries continue safely.

DOWNLOAD DE APP


Klantenservice
Copyright © 2025 Desertcart Holdings Limited
DOWNLOAD DE APP


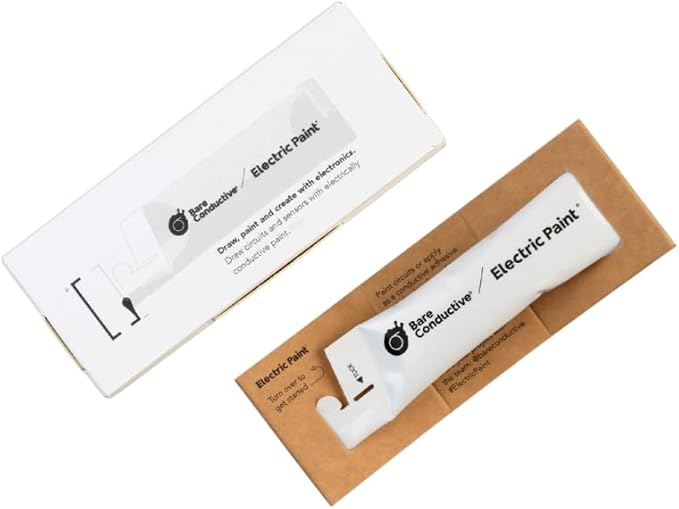


🎨 Paint Your Ideas to Life!
The Bare Conductive 10 ml Electric Paint Pen is a revolutionary tool for creators and innovators. This nontoxic, solvent-free, and water-soluble paint dries quickly at room temperature, making it ideal for prototyping and working with electrical components. Its versatility allows it to replace conventional acid etching, while ensuring compliance with RoHS standards. Perfect for artists, engineers, and DIY enthusiasts alike!
| Brand | Bare Conductive |
| Product Dimensions | 13.5 x 5.6 x 2.6 cm; 40.82 g |
| Item model number | 100368 |
| Manufacturer | Bare Conductive |
| Colour | Black |
| Power Source | Corded Electric |
| Are Batteries Included | No |
| Item Weight | 40.8 g |
| Guaranteed software updates until | unknown |
A**R
Worked perfectly
Spilt coffee all over my keyboard and in removing the matrix sheets I tore one (stupid I know) and I used this to the broken connections on the sheets now it works like new :)
K**T
It will do the job but...
I'm not an expert so maybe this is my fault but several times the paint on the remote control got stuck to the main board after a few days and the remote went crazy as if the key was kept pressed continuously. Then I had to clean the paint and start again. I got it working after the 5th attempt and it has been over a month now that the remote works fine.
C**S
Bought this for a Scout troop doing their electronics badge ...
Bought this for a Scout troop doing their electronics badge . messy, hard to squeeze out and didn't work so ended up using tin foil and sellotape instead!
G**X
This product works as advertised. It may not be the best solution for repairing a remote control, but you can certainly improve it. Here are the steps: 1. Open your remote control (watch a youtube if you have difficulty opening on your own) 2. Separate the rubber keypad from the circuit board. 3. Clean the circuit board and rubber keypad with rubbing alcohol using a paper towel or qtip. 4. Shine a bright light on both parts to ensure you have thoroughly removed all oils and debris. 5. Very carefully, put a small dab of the paint on each key. (you can use the tip to spread it thin or use a toothpick). 6. Once you have evenly spread the paint, let it dry (approx 1 hour or use a blow dryer on low speed for 15 mins). 7. Use the back of a toothpick or some small flat tool to carefully tap on each key to further flatten the paint. 8. Verify its not flaking off. If it comes off, repeat the steps to add more paint. 9. Let it dry again for another 15 mins. 10. Slowly put everything back together. testing: If you're remote fails the first time, it means there is a short with some small paint that stuck to the circuit board. You'll have to reopen and clean the affected parts and repeat paint steps. If it works, then don't slam on the keys. Just take it easy and it may last. If it causes trouble again, then repeat all steps. One suggestion would be that if you can work quickly, then maybe use super glue on the keys first before adding the paint. I haven't tried it, but it might hold better. Glue stick doesn't work well, and with no glue, the paint does not bond well with silicon rubber keys. For the folks that just need conductive paint, this paint works just fine for low voltage projects. Great value.
O**R
Secado rápido, gran conductividad y durabilidad. Producto recomendable.
A**R
Awesome. Item received on 16 Sep 19.
A**H
Sehr cooles produkt, vorallem wenn man etwas ausbessern möchte oder zb folien reparieren möchte.
T**I
Je l’ai acheté pour réparer des pistes de circuit imprimé défectueuses. Ça a fonctionné !! Le temps de séchage est assez important et ce n’est pas si facile à déposer mais ça fonctionne !! C’est mieux que de jeter un appareil réparable :)
Trustpilot
1 maand geleden
1 maand geleden