


🔋 Power up your iPhone 11 — because running out of juice is so last year!
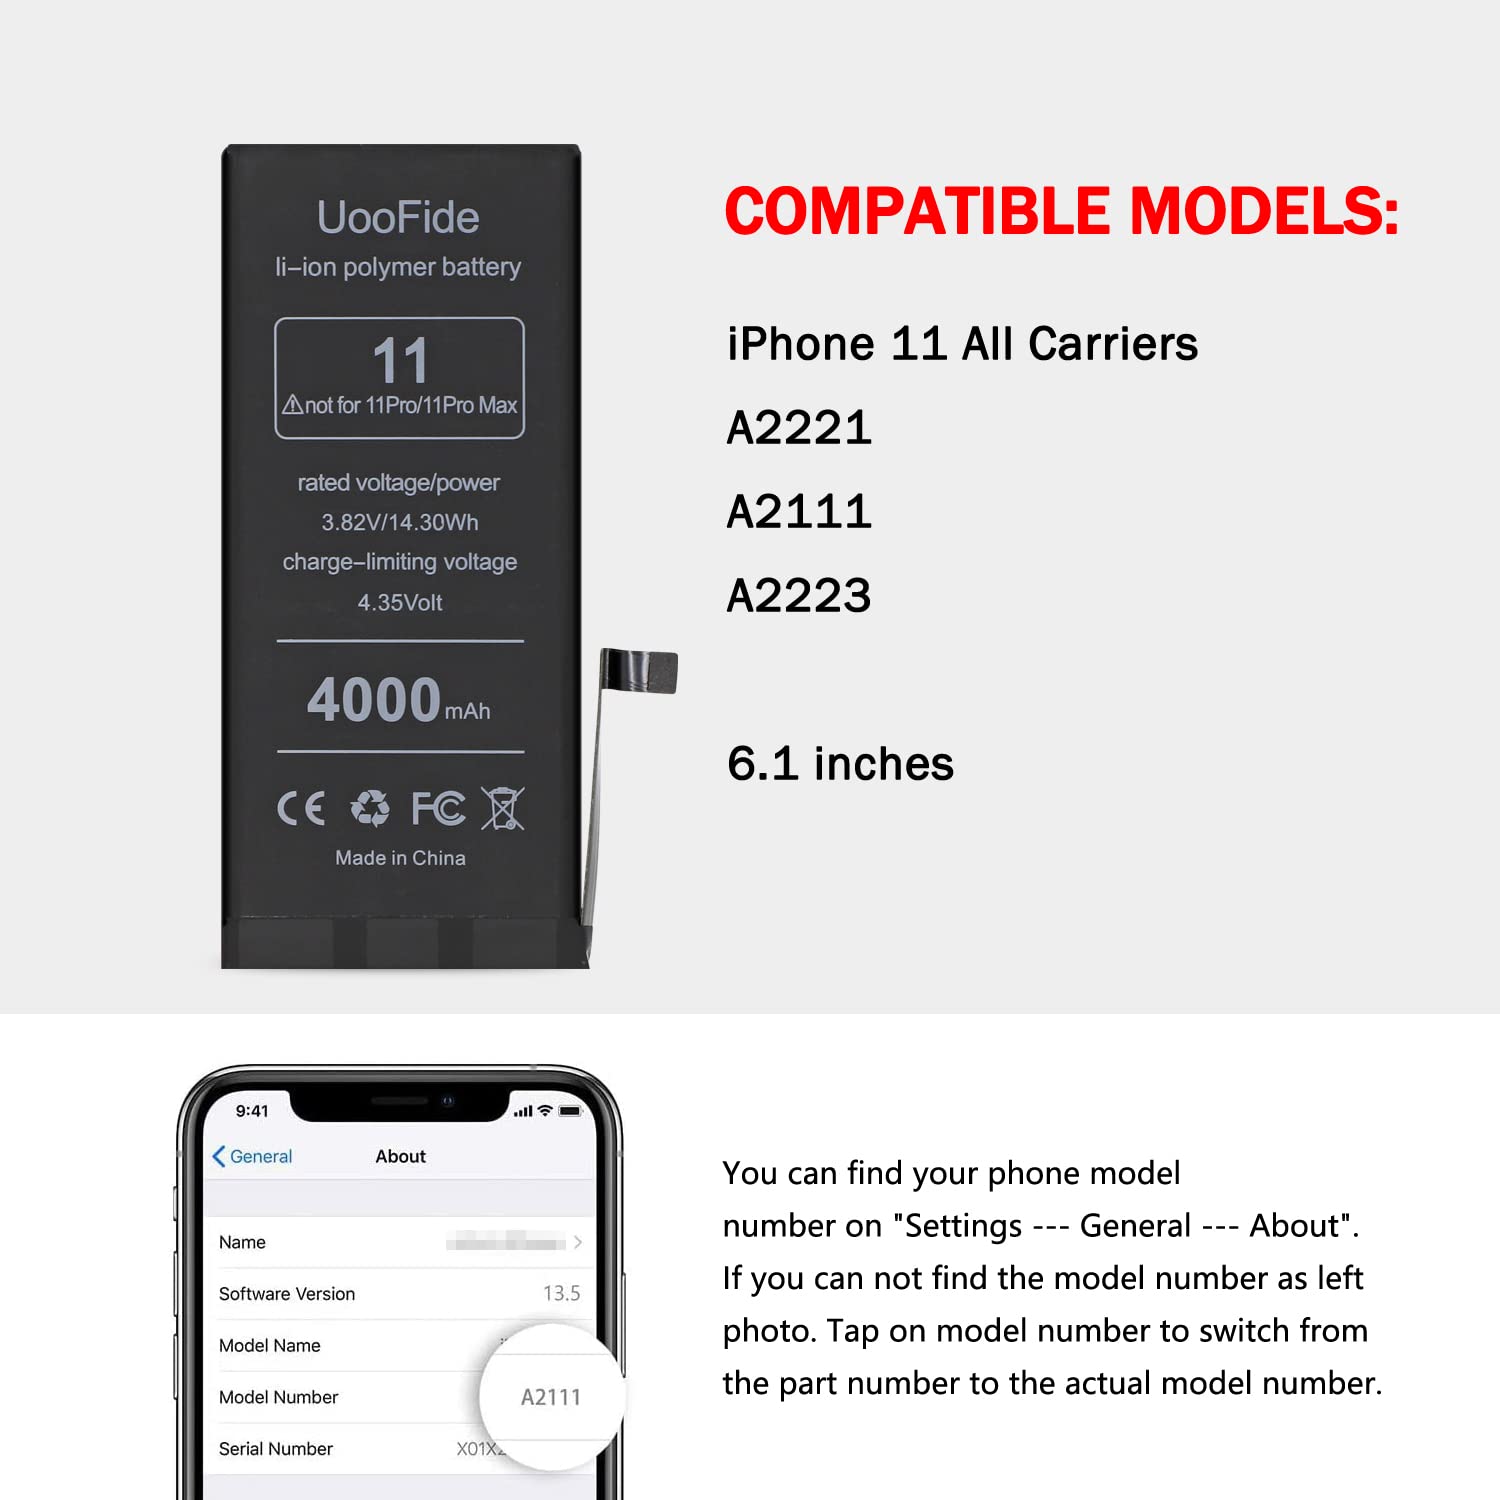
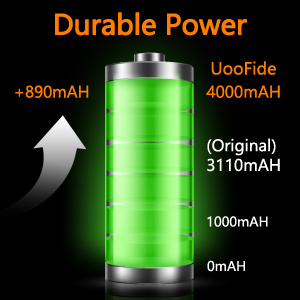
This UOOFIDE replacement battery for iPhone 11 features a high-capacity 4000mAh lithium polymer cell with smart IC chip technology for optimized power management. Certified for safety and durability, it supports over 1000 charge cycles and comes with a detailed installation manual plus 24/7 expert support, making it the perfect cost-effective solution to extend your phone’s life and performance.


| ASIN | B09MZ8VW7L |
| Batteries | 1 Lithium Ion batteries required. (included) |
| Best Sellers Rank | #41,784 in Cell Phones & Accessories ( See Top 100 in Cell Phones & Accessories ) #180 in Cell Phone Replacement Batteries |
| Customer Reviews | 4.0 4.0 out of 5 stars (508) |
| Date First Available | December 3, 2021 |
| Item Weight | 3.84 ounces |
| Item model number | IP11 |
| Manufacturer | UOOFIDE |
| Product Dimensions | 0.6 x 3.7 x 7.6 inches |
D**C
You may have to improvise
I would rate the skills needed to remove the old battery and install this new one as “proficient/advanced” and the task itself as 6/10 for difficulty, only because you may have to improvise if it doesn’t go according to plan. It took me a little more than an hour after I watched a YouTube video tutorial and read the included instructions. Some of the steps and some of the photos in the instructions are not clear so you really need to watch a good video. The two hardest tasks are 1) opening the phone, and 2) releasing the old battery. It was hard to use the suction cup, squeeze the sides of the phone AND wedge in the metal piece, all at the same time. The metal ring on the suction cup is useless because it’s a thin gauge wire and it opens when you pull on it. I ended up just squeezing the sides of the phone and wedging the metal piece into the bottom seam. I scuffed the phone slightly but you can’t see it once I finished and put on my protective case again. Removing the four adhesive tabs did not happen as shown in the video. I worked very, very slowly and all four still tore, leaving the adhesive on the back of the battery, still securing it to the phone, so I had to pry up the battery. The blue plastic pry tool (included) was useless and broke immediately. If you need to pry up the battery, you may need something that’s made out of sturdy plastic or wood and is very thin, like a clay sculpting tool. You might be able to use a metal flathead screwdriver if you put tape around it. It can be difficult to pry up the battery because there’s nothing to use as a leverage—you don’t want to damage any internal phone components, you don’t want to bend the metal casing, and you don’t want to puncture the lithium ion battery. If you have any doubt that you won’t be able to find a safe way to pull up the old battery if the adhesive tabs tear, then I wouldn’t try this installation. I’d have an Apple tech do it. As far as the battery charge: I charged it to 100% and after an hour of just reading articles and some light texting, it’s down to 92%. So far, I’m satisfied with this product.
G**R
If you're going to replace your own iPhone 8 battery, buy this one.
I've installed quite a few batteries over the years but the iPhone 8 battery is not as easy as most. I used the iFixit guide which is very well written and concise albeit not for the first timer. There are many places in which a mistake will cause you a whole lot of hurt. Be careful and take your time. This battery kit is almost perfect except it is missing the "standoff" screwdriver. I used a very flat flat-head screwdriver that worked but it slipped easily which caused the blade to come dangerously close to stuff that could be damaged. It would have been nice if this screwdriver was included but for $18, I can't complain. The adhesive seemed to fit pretty well although was not very wide on the sides. I don't know if this is the way it is supposed to be or was just a inferior product. No way to check how good the water proof seal is. To conclude, this kit is perfect if you want to replace your own battery on an iPhone 8. Very pleased.
E**F
works great
great kit, it was easier to replace my iphone 8 battery than I expected
A**Y
DO NOT BUY
Replaced the battery and now I have to replace the screen, the battery was super hot on the first charge and the lcd is bad now, no i did not messed up on instalation, i turned the phone off to charge and when i turned back on the lcd is bad. also there is a message saying the iphone does not recognize the battery. and the message will not go away. so every time you turn the screen off and then on the message will appear.
G**Y
Lasted 6 months
Worked fine was pleased but then died 6 months after I purchased and paid to have it installed.
J**N
So far so good…
As of writing this it’s currently Sept. 24, 2023. I got my battery replacement about 7 hours ago, and finished 5 hours ago in the evening. I plan to come back somewhere in the middle of October to see how the battery holds up. Right now I’m trying to calibrate it by charging it to 100 and keeping it there for 2 hours, then making it die and then charging it up to 100. I do have to say though, it charges pretty slow but hopefully that means it’ll also last a long time. I also noticed it doesn’t get warm at all, unlike my original apple batter whose capacity was 78%. Installation was not too difficult following iFixit’s tutorial, but the screws are really small and I’ve lost 2 of them so I need to watch out for drops.
Y**Z
Perfectamente
C**T
Battery Life
Battery lasts very long based off of my first charge. Certainly longer than my 75% battery health iPhone stock battery. Takes awhile to charge but that’s a trade off I’m willing to take. Tools and seal that came with it worked well. I used an online video from iFixIt instead of their instructions cause it’s easier to follow but the seal applying sections was useful in the guide. Overall a good replacement option so far.
Trustpilot
2 maanden geleden
1 maand geleden


