
DOWNLOAD DE APP


Klantenservice
Copyright © 2025 Desertcart Holdings Limited
DOWNLOAD DE APP

💅 Elevate your nail game with the dip powder kit that pros swear by!
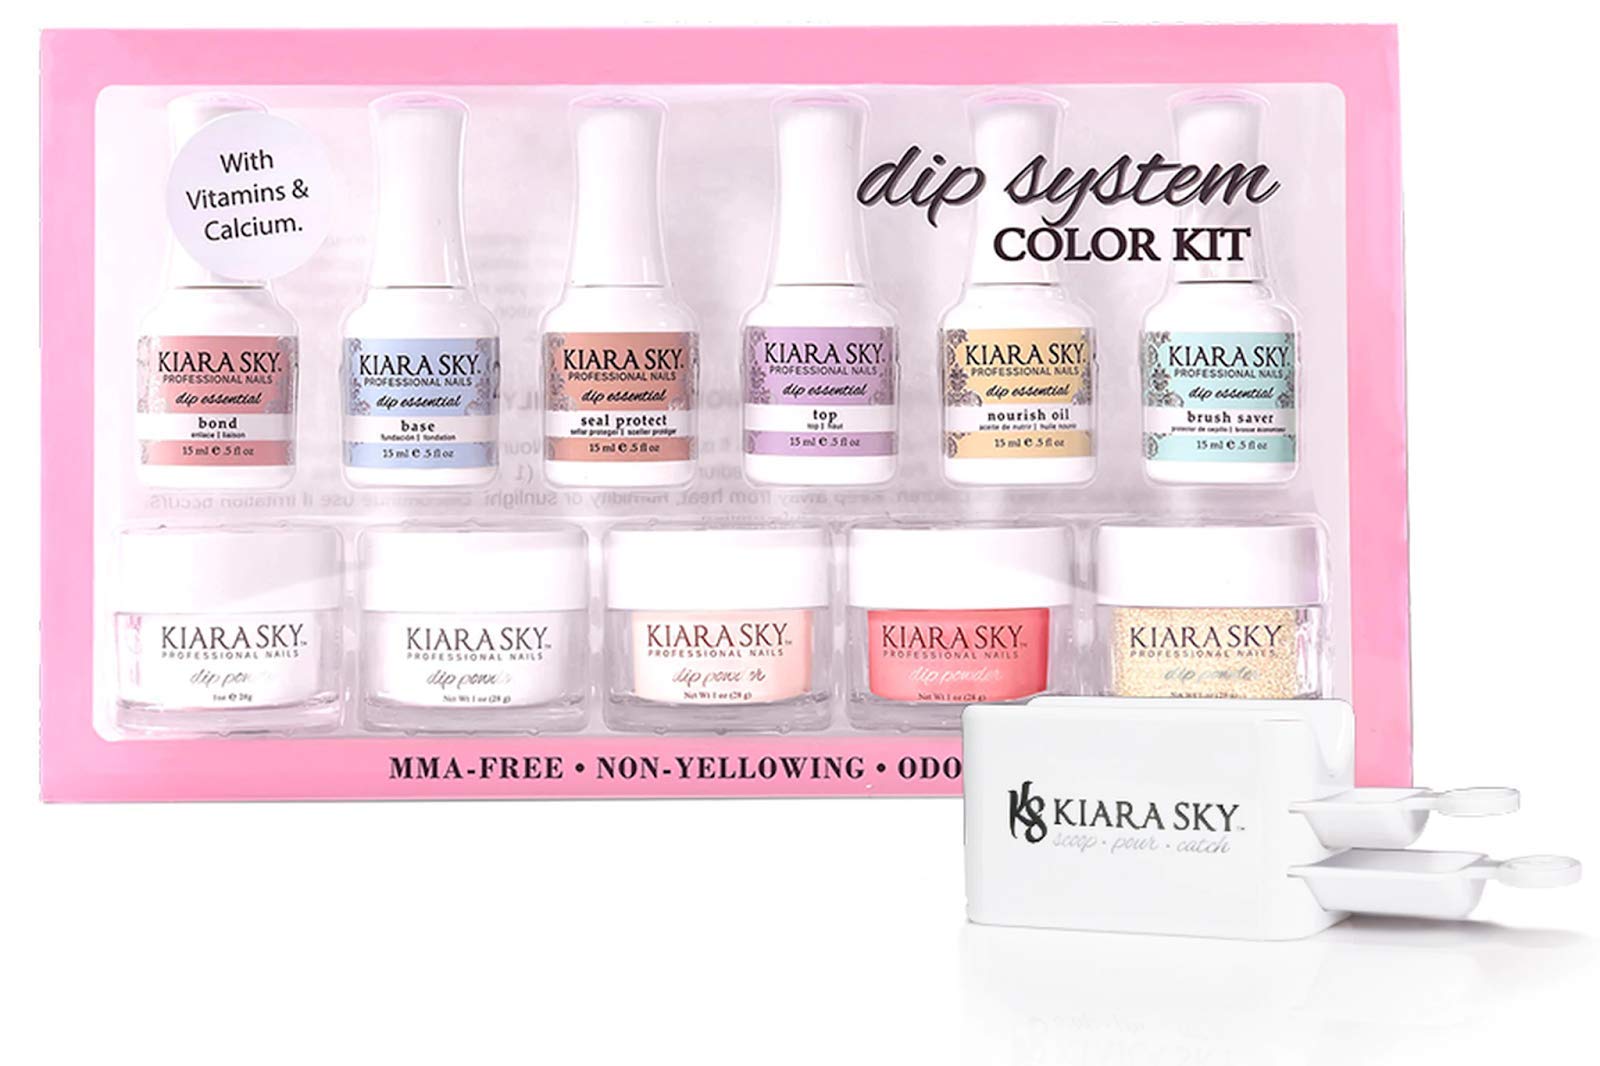
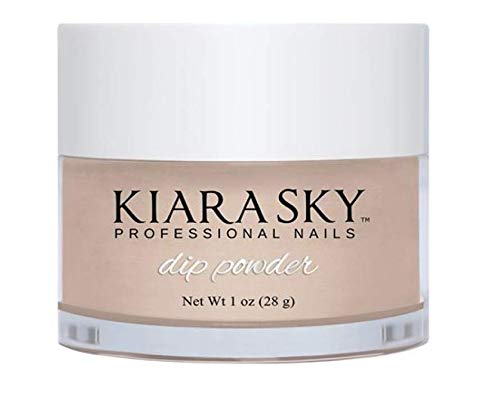
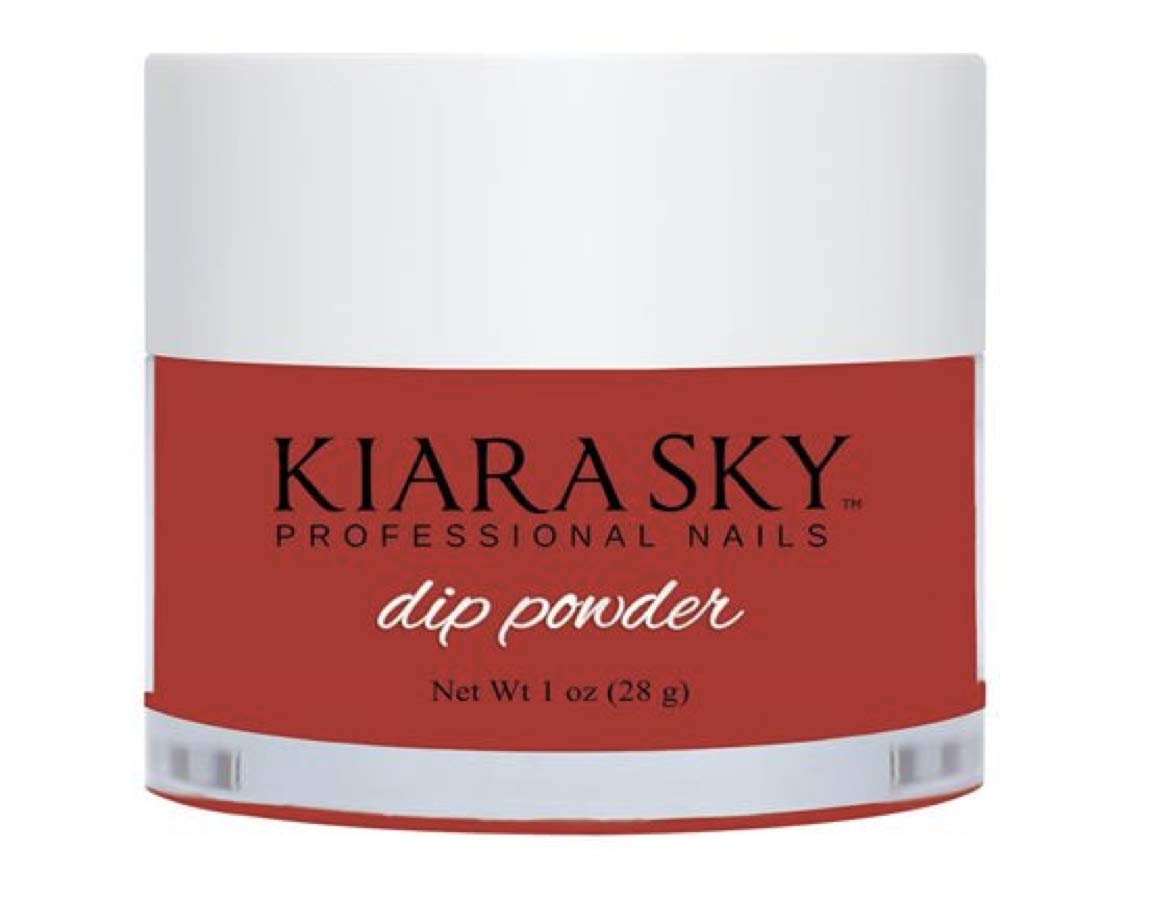
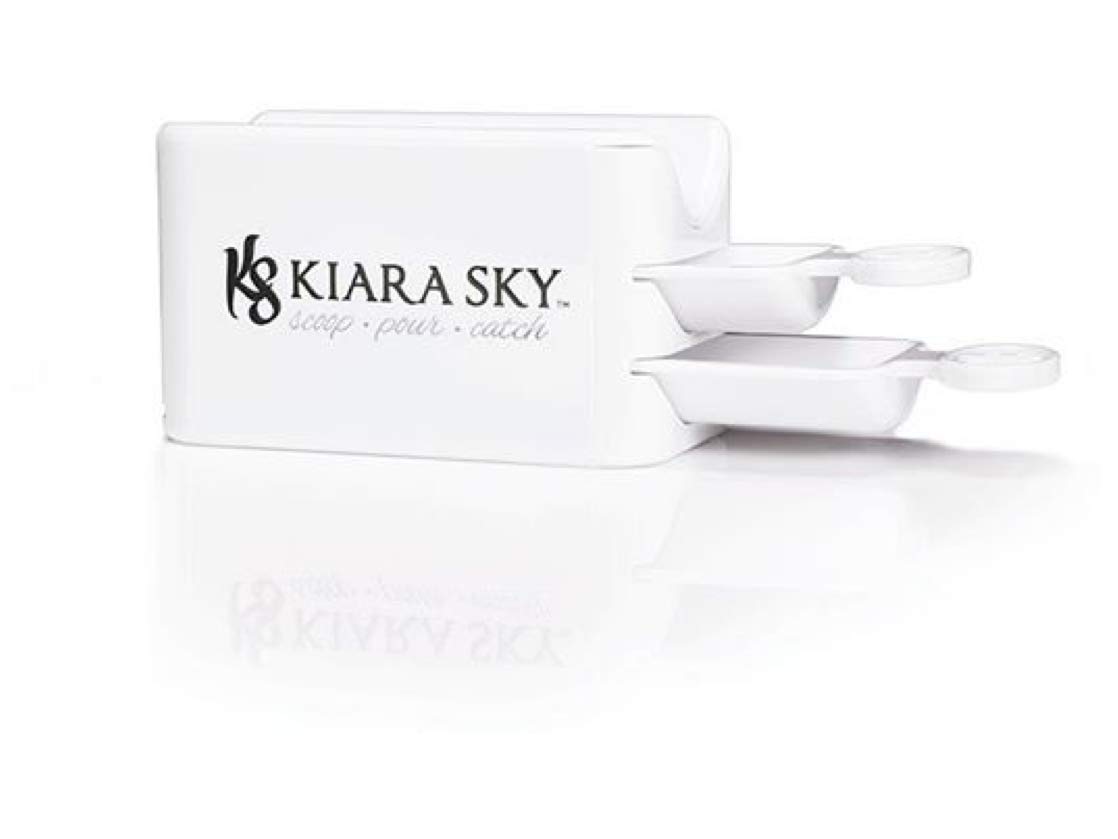
The Kiara Sky Color Dip Powder Starter Kit offers a professional-grade, long-lasting nail enhancement system that strengthens natural nails without damage. Featuring a fast-curing activator and an eco-friendly recycling system, this kit delivers salon-quality glossy finishes with minimal odor. Ideal for intermediate to advanced DIY nail artists, it’s recognized as a top beauty product by INSIDER Beauty and supports up to two weeks of chip-resistant wear.


| ASIN | B07Q599R17 |
| Best Sellers Rank | #112,491 in Beauty & Personal Care ( See Top 100 in Beauty & Personal Care ) #65 in Dip Manicure Kits |
| Brand | KIARA SKY |
| Brand Name | KIARA SKY |
| Color | Color Dip Kit |
| Customer Reviews | 4.2 out of 5 stars 5,541 Reviews |
| Finish Type | Glossy |
| Included Components | Dip Powder |
| Item Form | Powder |
| Item Weight | 0.98 Kilograms |
| Manufacturer | Kiara Sk |
| Material | Acrylic |
| Unit Count | 1 Count |
L**Y
This kit ate
So this is my second kiara sky kit. I’d say i’ve done maybe 10 sets so far and it has helped strengthen and grow my nails a LOTTTT. my last kit had issues with being gloopy and hardening. That was because of application errors and me just not really knowing what i’m doing. It is important that the base (2) does not make contact with the powder. You can make sure of this by making sure you dust off as much powder as possible between layers. It is also important that the top coat (4) does not make contact with the activator (3). You must wait for it to completely dry and wipe it with a dry lint free wipe. It is also very important to follow the directions as closely as possible, though i would look into video tutorials tips and such as well. For my results I used the apex method. (to the best of my abilities because my nails are really flat) and painted about 2/3 down the nail, dipped in the french to make the smile line, and then the medium pink. Then i did 3 layers on top of that of the medium pink to soften the line and contrast of the french tip, getting closer to the cuticle with every dip. Before activating i cleaned up around the cuticle, this is important to make your manicure last and prevent lifting. Two thin coats of top coat on top leave you with a pretty smooth strong finish! It’s also good to regularly file so sharp edges dont catch and cause lifting. If lifting occurs it’s time to soak off your nails and reapply. Dont rip them off! and make sure u soak of your nails as soon as you can to avoid a fungal infection I love this kit it is definitely of great value. I recommend it to anyone who wants a strong, cheap, home manicure that is stronger than acrylics. I would say this is for the intermediate to advanced DIY nail tech and takes a bit of research and a lot of patience to get it justtt right. It has helped me grow my nails and just looks so beautiful on!! I have not had a single nail break since purchasing my first kit. 6/5 stars from me
K**S
Easy to use. Beautiful results.
I really like this system. It is quick and easy, and the results are beautiful, even the first time you do it. I used it on natural nails, which tend to split and have areas of soft spots (peeled? Not sure. Maybe just old.) Don’t be put off by the number of steps—it isn’t as bad as it looks once you get started. Make sure you lightly buff the shine off your nails. The first step is just dehydrating, so you can do all nails at once. If you have attached nail extensions, you don’t put this on them, just on your natural nails. Next, you use the base, which is essentially glue to make the acrylic stick. Do one coat of natural, so the colored powder won’t stain you nails. Cover the nail with base, then gently dip at a 45 degree angle into the powder. Wiggle your finger around a bit to make sure the powder gets all over the nail, then gently remove the nail from the powder. Flick the back of you finger with your other hand to knock off the excess, and go to the next nail. Be aware that the powder is extremely fine, and when the jars are full, spilling it is inevitable. Use paper towels under the jars. After all the nails on one hand are done, you are ready for the colored powder. Again, cover the nail with base, then dip into the powder, flick off excess and move on to the next nail. Do this twice. When you are sure all the nails are “set”— a couple of minutes—take a soft brush and dust off your nails. Then do a coat of clear powder on all the nails in the same manner. This protects the color when you file them. (You can pour the powder on rather than dip, if you prefer. Pouring is best for the clear coat, so the powder doesn’t get contaminated by other colors. A pouring boc comes with the kit.) Next, use the activator to cure the nails. Slather it on to make sure it penetrates all the layers. The color will darken when it gets saturated. Let it dry (really fast) then take a nail file and smooth any bumps or thick parts, and make sure to file gently near the cuticle so there isn’t a ledge when your nails grow. There shouldn’t be a whole lot of filing needed—it goes on really smooth. When you are satisfied, rinse your hands with water or an alcohol pad, to get the dust off. Don’t use soap—you aren’t done yet and don’t want oily junk on the nails, yet. Then go over each nail again with the activator, and wipe off any excess. I use felt pads, but anything lint free is good. Do not wait too long to do the top coat, because it needs the activator to cure. It says to use quick, light strokes, but the first time I took that a bit too much to heart and it didn’t look as good as it could have. Just put it on like nail polish and you should be fine. When it dries, add another coat, let it dry for a couple of minutes, then you are ready to do your other hand. After you have finished both hands, slather on the cuticle oil and massage it in. And you are done! The other bottle is brush cleaner. I just switch out the brushes. The first time, I did red nails with gold accents. This time I did Tahitian Princess, which I highly recommend. (In picture) Soak the nail off with pure acetone. I also use the Hands Down nail wraps covered by a disposable glove to soak off, as you can still function while you wait. It took 15 minutes, and an orange stick. The finished nails are thicker than natural nails (which I want!), but not reall any thicker than a gel manicure. But it might take some getting used to. The odor is minimal. If your nails grow quickly, it will last two weeks, longer if they grow slowly. You probably could go a fill in, but I was itching to use the Tahitian Princess, so I did not try. In addition to the kit, nails files/drills are needed (180 grit files work great), a cuticle pusher/spoon, and a soft brush are needed.
R**P
Full review with links to other stuff you need
Not too proud to say that I am vain, and REALLY wanted to keep my dip nails up through this Corona virus crisis, so I took matters into my own hands and bought this kit (I will go back to the nail salon when this is over, because let’s face it, a lot of small businesses are really going to need our support). Back to the kit- overall, it’s awesome. It’s professional quality and it has all full size bottles and powders. While I have had the dip done at the salon many times, I had never done them myself. Overall, I found this kit super easy to use — though here’s a tip, google Kiara Sky videos and follow them. They make it very easy and if you take your time, you can easily get this right on the first try (the kit has written instructions too, but the videos are better in my opinion). This French Kit comes with full size bottles of bond, base, seal protect, top coat, oil and brush saver. It has 5 powders (natural, white and 3 shades of pink - all sheer). The kit also comes with the dip case and a pack of brush replacements. I was hoping the pinks were a little more opaque but what can you do. My dip is pretty thin, the way I like it! If you want to do this right, I recommend getting a package of medium grit nail files and buffers and maybe a fluffy brush for the dust. If you want to go crazy, you can also get the drill/eFile for shaping (there is a $20ish dollar one on Amazon that works well), but honestly, if you follow the videos, you can get good results with a hand file. I’ll put the links to the accessories I bought below. One more important tip - put a lot of paper towels or old towels underneath your hands! No matter how neat you think you are, this powder is very fine and you will have some on the table. Hope that helps! Here are the links to the accessories I bought: Buffers/Files: Nail Files and Buffer, TsMADDTs Professional Manicure Tools Kit Rectangular Art Care Buffer Block Tools 100/180 Grit 12Pcs/Pa https://www.amazon.com/dp/B07FQMXB55/ref=cm_sw_r_cp_api_i_HAACEbENFH949 Fluffy dust brush: RUITASA Soft Nail Art Dust Remover Powder Brush Cleaner For Acrylic & UV Nail Gel https://www.amazon.com/dp/B07PX1DVRC/ref=cm_sw_r_cp_api_i_aBACEbMWDNEQT Drill/eFile: MelodySusie Portable Electric Nail Drill, Professional Efile Nail Drills for Acrylic Nails,Nail E File Nail Kit for Gel Nails, Manicure Pedicure Polishing Shape Tools Design for Home Salon Use, Purple https://www.amazon.com/dp/B01H05EDK0/ref=cm_sw_r_cp_api_i_RzACEbK5NG54V
M**H
Expensive…def NOT odorless. Pretty results.
Kiara Sky Dip System - Color Kit: Clear, Natural, Prim & Proper, Super-ficial (gold glitter), and Hot Damn! This was my first and only time, so far, doing any dip powder myself. Tired of paying someone else to screw up my nails, and tick me off cuz I have to file off, reshape and reapply top coat. I’m a lil particular 😘. Only did clear and created an “apex.” Was simple to use, end product looks decent, I think, and added the much needed strength/protection for my nails. Loved the simplicity but not fan of the top coat. It dried fast and left goopy ridges. But to be fair, I’m pretty sure that was user error as I saw a video, after the fact, saying not to overlap your first layer of topcoat. Oops. After trying it twice, I ended up wiping/filing it off (twice) and applying Beetles gel glossy topcoat instead. Not so keen on the oil, either. Kinda of a strange consistency. Want to try the French one next but that is basically the same price. Could try the mini but the pots only have 1/2 ounce, or buy the powders and French dip case separately. Meh, perhaps try a different brand all together…one that’s not quite so $$$ and hopefully not so smelly. This is NOT odorless!!! Has a very strong superglue-ish smell which sucks because that’s part of the reason I purchased this expensive brand’s system. Strong odors give me headaches/sinus issues and are just unpleasant. Have had it on for less than 2 days so have no clue about the longevity of my application. However, when the salon applied it last, it seemed to be holding up pretty well…until I got hold of an e-file and 100% acetone. YouTube has amazing dip powder tutorials, which are great for newbies like me. Sip&Dip comes to mind. Not a plug, just appreciate the helpful info.
A**W
Keep looking...
Updating my review as of May 16th and knocking this down to one star. Last week I attempted another full set and was sorely disappointed. The issues with the polishes still exist. The top coat is absolutely useless, it doesn't even work. It's not a clear shiny protectant that most top coats should be. This top coat just dissolves into the dip powder on your nail and that's it. After 3 days all of my nails started the crack and fall off, ive included a picture below. This is such a waste of TIME AND MONEY. Do not buy this product, every aspect of my experience with this product has been negative. April 28,2017- What a disappointment. Here is what I experienced: -The seller has increased the price of the product almost weekly since I started researching dip manicures. When I started looking they listed is at around $70, now its over $115, which is absurd! Stick to a price fair price and leave it at that. The price has skyrocketed nearly $50 bucks for the same low quality product. -The package was delayed almost 3 weeks.The product comes with free shipping but my package was delayed 2 times and arrived 3 weeks after it was supposed to. - The product didn't come with instructions?!?!?!!!! Even though this system is for professionals, instructions, tips and best practices for using the product is necessary, especially since there are so many steps! -It took me 2 attempts at the full set to get a semi-acceptable manicure. Perhaps my kit was sitting in a warehouse for a long time because of all of the liquids were super clumpy and not a clear/liquid/consistent polish. My first try the manicure came out so bubbly and lop sided because of the clumpy polish I soaked it off and tried again. I had to vigorously (super super hard) shake each bottle so that it wasnt clumpy. - This system only comes with colors to do a french manicure. If you don't like french manicures (like me), then you paid an astronomical amount for polish and a bunch of powders you'll never use. You'll have to buy additional colors, making this kit an even worse deal.
D**)
How to: Be Another Happy Kiara West Customer!
This is a great product. I am not a professional manicurist, but I have done my research and have learned through years of DIY. So, if you have tried this product and are not happy, I am sure you followed the directions... However, here are MORE TIPS on how to increase the longevity of your Kiara West dip system manicure and be like all the other happy customers... 1) Do not wash with soap and water or use any cuticle remover product or hand cream/cuticle oil just before doing the manicure. I recommend those products 24 hours in advance-especially if you have very stubborn overgrown cuticles. 2) Always push cuticles back and trim if necessary before beginning. 3) Gently BUT THOROUGHLY dust file the tops of your nails. If you see any shiny part of your nail still or loose skin (especially near the cuticle or along the sides of your nail), you must retrim/keep filing. Shiny = lift. 4) Do not use your finger to wipe off the dust from your nail-that introduces oils that will cause lifting. Use a clean brush to clean nail dust and/or use a q-tip swab dipped in alcohol (not acetone) to remove the rest of the residue. Is your nail even or does it still have dents/ridges etc? If uneven still, repeat the filing process followed with alcohol. 5) After properly prepping, do only one finger at a time. 6) Use plenty of bonding, 7) Apply first thin layer of base (keeping carefully away from cuticle and skin along the sides. use an orange stick dipped in acetone if you get any on those places. OR, before beginning, paint Elmer's school glue with a fine brush (eyeliner brushes work great) carefully onto areas you do not want base and powder to adhere. Allow the glue to dry completely before beginning. Then you can peel mistakes away at the end. This also is a great way to make the smile line you want for your french manicure-be sure to peel off the glue after setting your white powder. 8) This kit does not include clear powder. I recommend getting clear (or if you like sparkles, winter wonderland) to use as your last coat. 9) Always use seal and protect as your last step before moving on to your next finger. 10) Once all fingers have been completed, add another coat of seal and protect (along the front edge of your nails as well.) Now you can remove glue and file/buff the clear coat of every nail until smooth. 11) Once all nails are smooth (no rough edges under the nail or along the sides), only now wash hands with soap and water. Dry hands and 12) add ANOTHER COAT OF SEAL AND PROTECT to all nails. 13) Now add a thin coat of top coat, cleaning any extra from the skin with a swab dipped in acetone. Allow to dry, and add another thin coat (clean excess again). 13) If there are any stiff, rough edges from the top coat, be sure to file those away. If you follow those steps, your manicure should last longer than 2 weeks or until you are ready to fill which can be done with more product-However, be sure to follow all the same steps and tips for the exposed part of the nail. Fun Fact- Filling with a glitter powder makes a beautiful ombre effect. Good luck and Cheers!. PS Read my other comments about opening and keeping the base bottle and cap (and top coat bottle and cap) unstuck.
S**E
Zero lifting! Zero breaking!
I am new to using the dip powder system but already love it. Although there is a learning curve to using it, it's MUCH easier than using the acrylic nail system with brushes. I'm posting photos below to show what the nails looked like after 2 weeks of my first use with the product (with gel polish rather than dipping powder color) and then after I did my fill (with dipping powder color). I still need practice as filling the nails is not as easy as I would have thought and the product ended up being somewhat thicker than I would have liked. Since I used dipping powder product for color this time, I was afraid that too much filing would take the color off and I wasn't sure how to fix that if I went too far. Regardless, I am super happy with this product. I had absolutely zero lifting which was a huge problem for me with the acrylics. I was not extra gentle with my nails and not one of them was even close to breaking in two weeks. Using the acrylics I had constant breakage (I think because I don't know how to build the nail that well) and was constantly fixing them. Other than minor filing with the dipping powder set, the upkeep was minimal. The process is also much shorter (for me) than using the acrylics. It used to take at least half a day to do acrylics (fill or new set) and with this dipping powder system I'm done in an hour and a half (start to finish). You can't beat that. I did have a problem this time with the brushes detaching from the handle, but I just screwed the handle back on and pressed down as I was unscrewing and that seemed to work. There is a set of extra brushes that comes with the kit but I'm trying to hold off from using them for now (after all, it's only my second time using them!). There is also minimal odor! This kit does not have the same noxious odor as the acrylics do. At the most it might just smell like nail polish. This is a great system and I would only say that it gets better with practice. Knowing how to file is also a huge help! But all-in-all I highly recommend this product and cannot wait to try new colors.
M**N
It's a great product, but it has it's kinks.
So my husband suggested that I buy into this system so that we could save some funds. It worked out great as far as the application process. I was confused for a few weeks on how to use the brush saver because it doesn't come with clear instructions for that. (simply put, when your brush gets hard just put it in the brush save for 5-15 minutes and it'll soften it up) A few great things about this product is that it's easy to use, the nails are of good quality and it saves you money. Some things I don't like about it is- it does smell, unlike the packet which says it doesn't, it takes me 2-3 hours to complete a full set (includes application & drilling), the nails when completed doesn't stay on for long (they start coming off like a week after I do them to where i'm gluing on nails left and right), additionally because I read the reviews prior to purchasing I was made aware to keep the tops clean, therefore I cleaned them after every use before putting them away, sadly my top coat STILL got stuck and when I worked hard to open it, it shattered, smh, on top of that my base coat polish brush kept getting hard (even when I used the Brush Saver) then it eventually dried out after not doing my nails for about a month (yes It was cleaned and closed properly before storing) So yes, I have mixed feelings about the product overall. I believe if there was a way for the nails to last longer (like they do when I used to get my nails done at the shop), if the polishes didn't get stuck & be easily damaged, the brushes don't get so hard so easily & lastly if the base didn't dry up for reasons unbeknownst to me. Therefore I am trying to work out either getting some type of reimbursement for this because without the base I cannot use the whole system. So please- Amazon or Kiara Sky please help! (PS, I will be calling customer service this evening about this to see about a resolution)
Trustpilot
1 maand geleden
1 maand geleden